
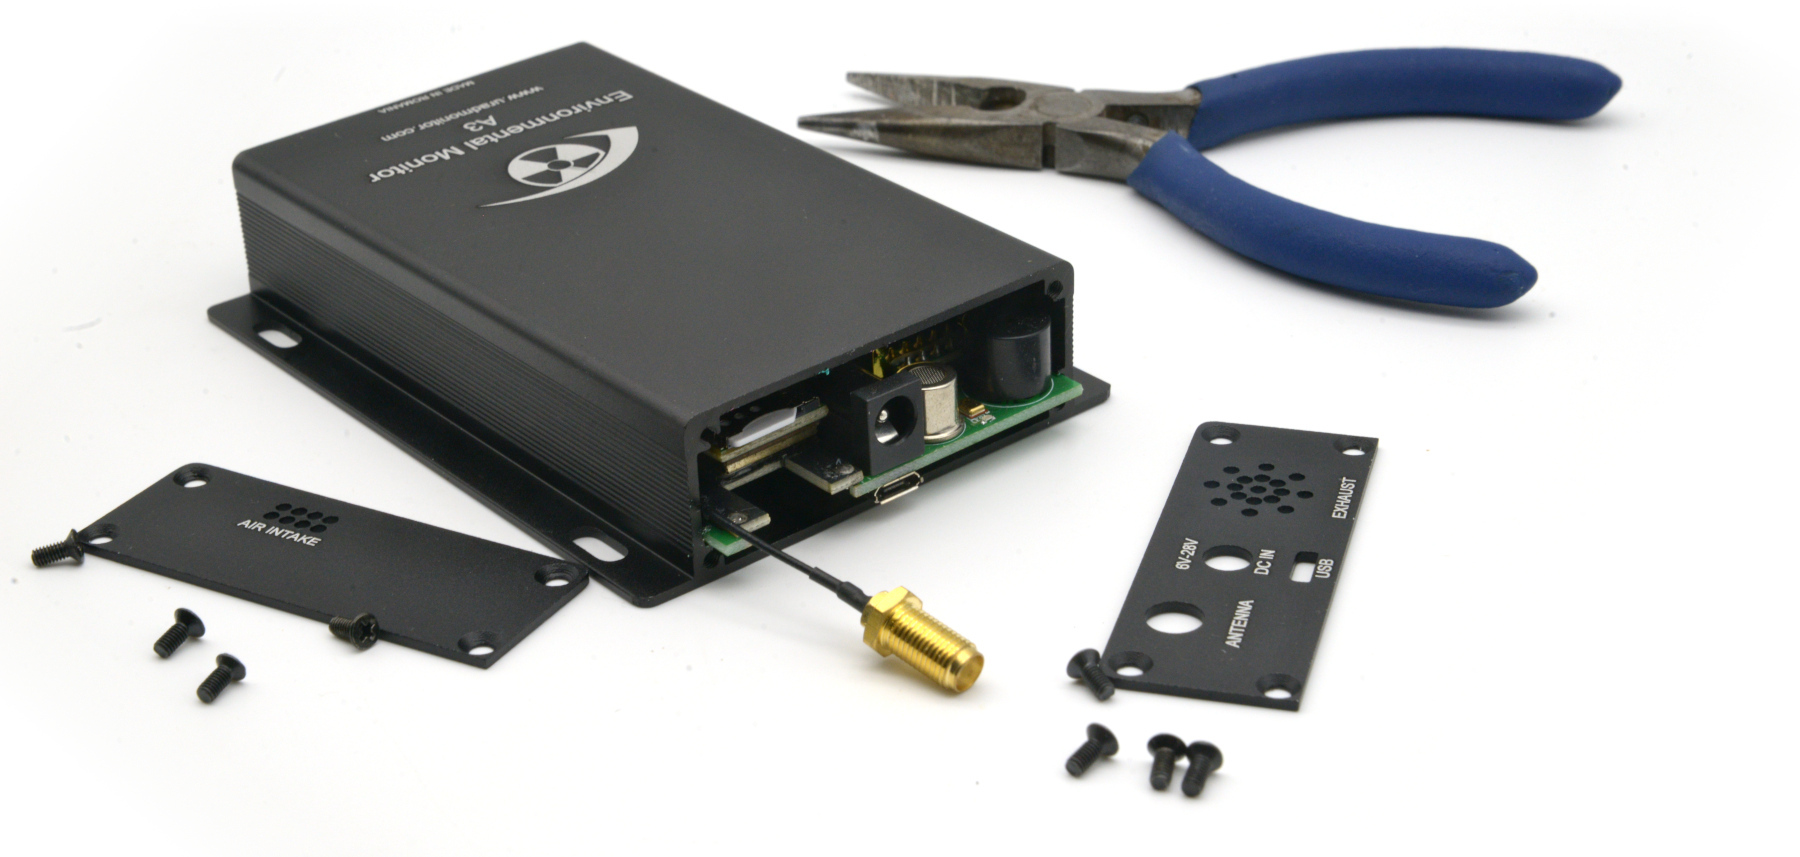
The MODEL A3 (hardware version 10 and above) is designed so the three sensors that age can be replaced at home, with no soldering. The process takes about 15 minutes.
What wears out and why
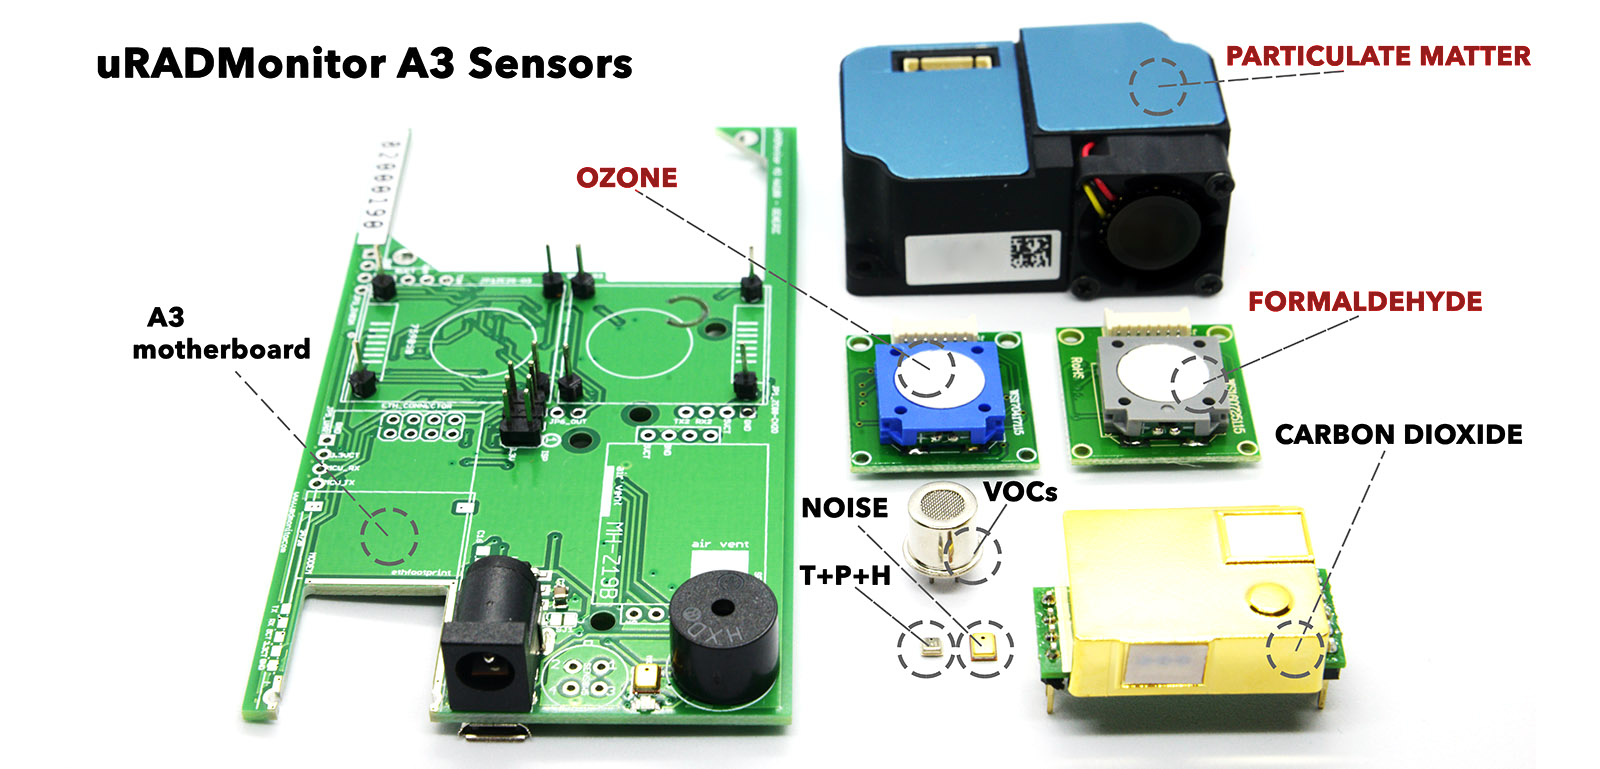
Three sensors have a designed lifespan of approximately two years:
- PM sensor: a laser particle counter with a small fan. Dust accumulates on the optics and fan blades over time, causing readings to drift. The Fan itself can wear out, so airflow stops and the counter cannot track it anymore.
- Formaldehyde sensor: electrochemical cell, depletes with use, just like a regular battery.
- Ozone sensor: electrochemical cell, same mechanism.
Everything else: CO2 (optical principle), temperature, humidity and pressure (MEMS sensor), noise, and the VOC index (MOX sensor) are all detected by elements that have a much longer operational life. You are replacing three specific components, not the unit that continues to have working electronics and connectivity.
What you need
The maintenance kit that contains all three sensors, get it here. No special tools required beyond your hands, basic pliers and a screwdriver. The connectors are plug-in.
Procedure for uRADMonitor MODEL A3 sensors in Aluminium enclosure
1. Open the enclosure
Unplug the power cable. Wait 10 seconds. Take out the 4 screws at the end with the power connector to dismantle the aluminium lid, set it aside, then do the same at the other end:
2. Take out the motherboard
This step requires your full attention. The space inside the aluminium enclosure is tight, and the motherboard needs to come out carefully to avoid damage.
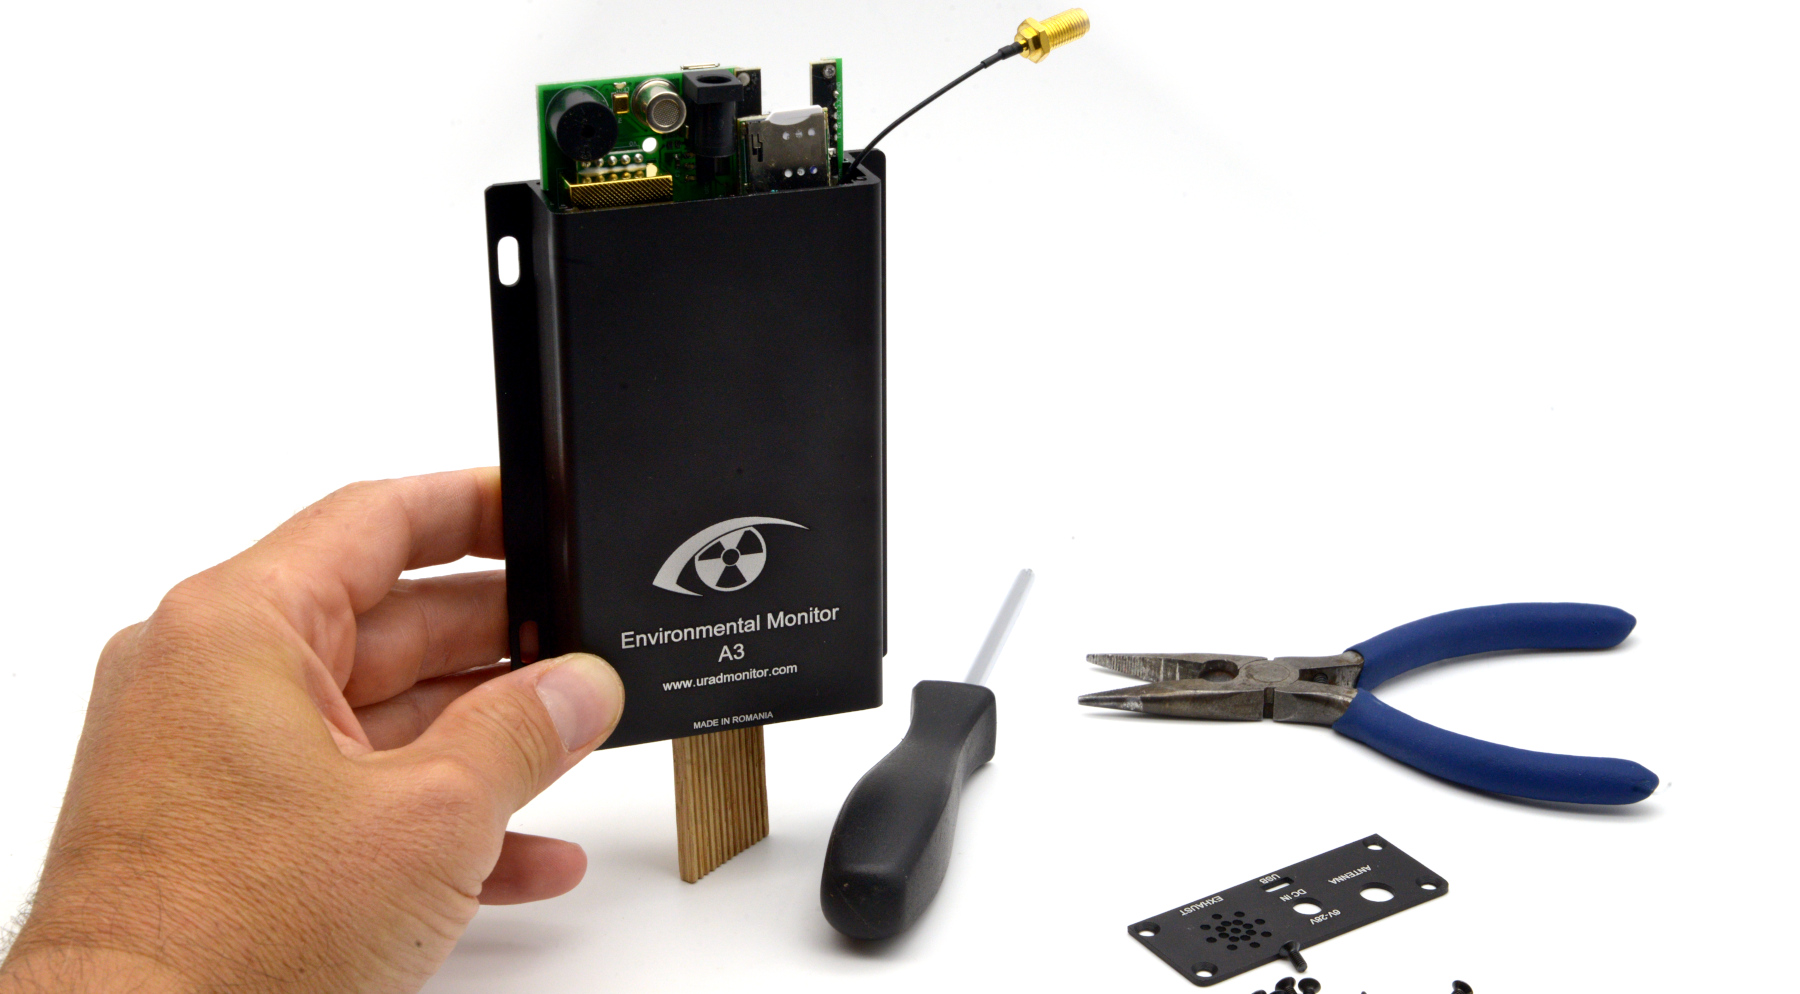
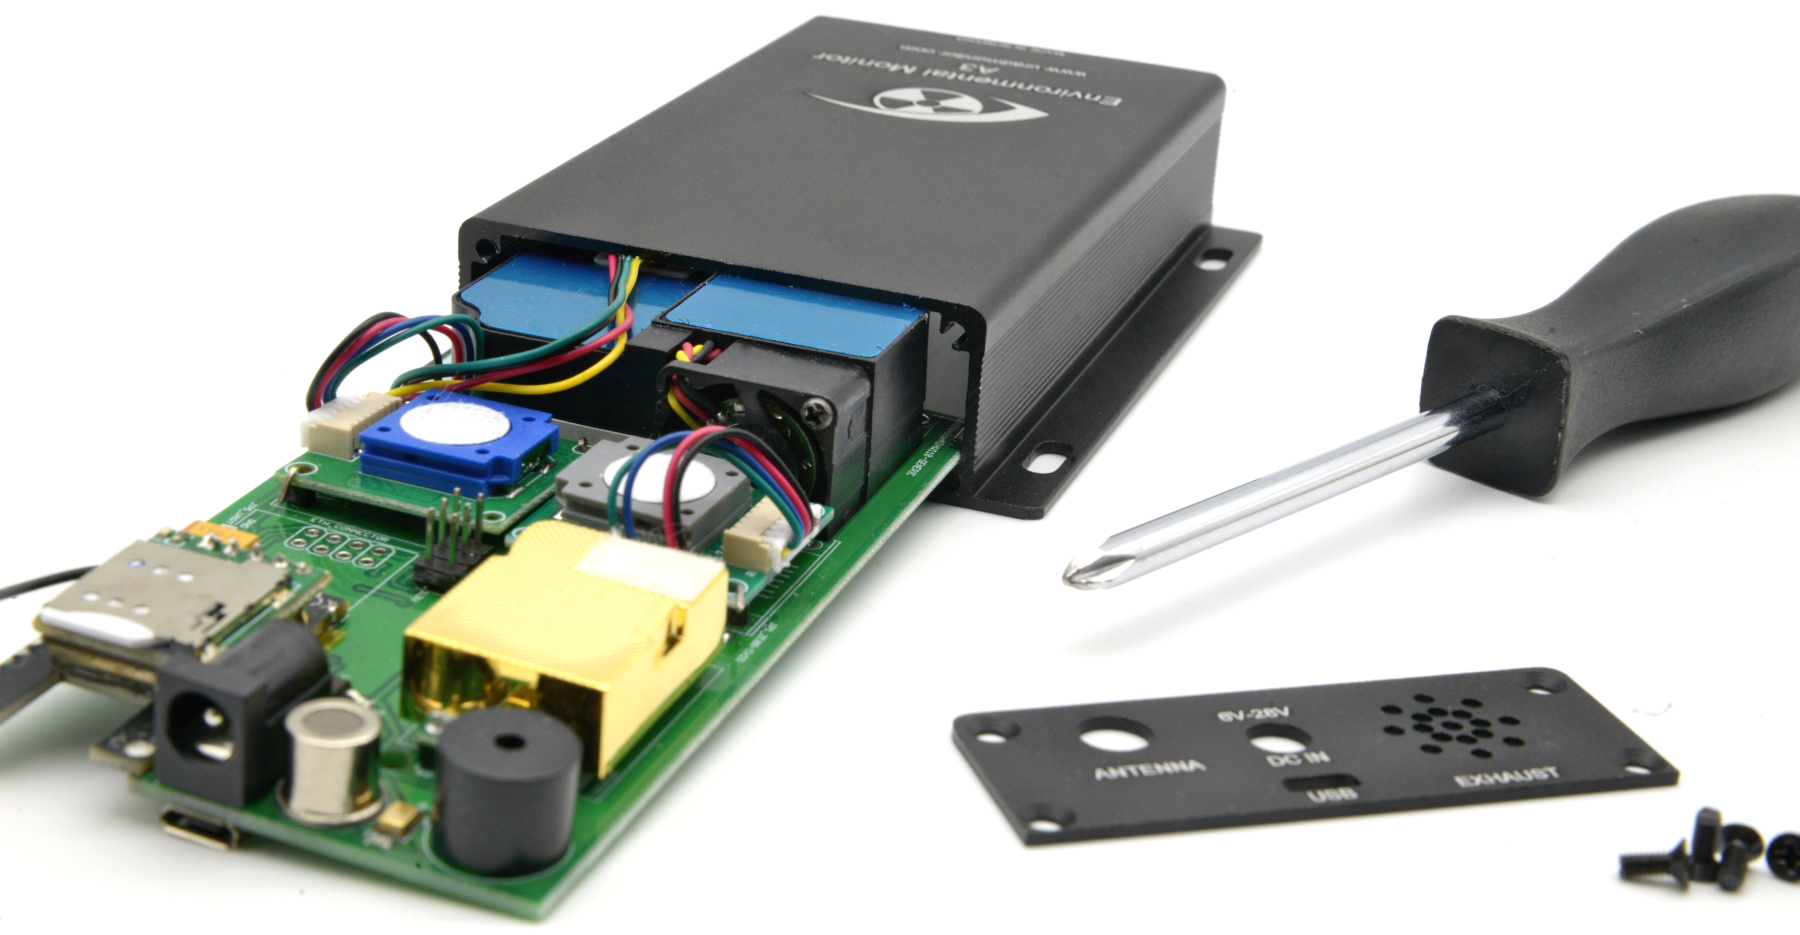
The motherboard sits on internal rails and slides out through the open end of the enclosure. To eject it, you need to push from the PM sensor end. Use a flat, blunt object like the flat side of a lighter works well , and press it against the PM sensor end of the board. Rest the pushing object on a table and hold the enclosure vertically above it, open end facing up, so that when you press down gently the board slides upward and out.
Use a wide, flat surface to distribute the pressure evenly across the end of the board rather than pressing on a single point. Push slowly and firmly. You will feel the board begin to move on the rails, and it will slide cleanly out the other end.
3. Remove the old PM sensor and install the new one
The PM sensor sits in one end of the board, you already saw it at this point. It is held by a small plug-in connector Disconnect the cable first, then lift the sensor straight out.
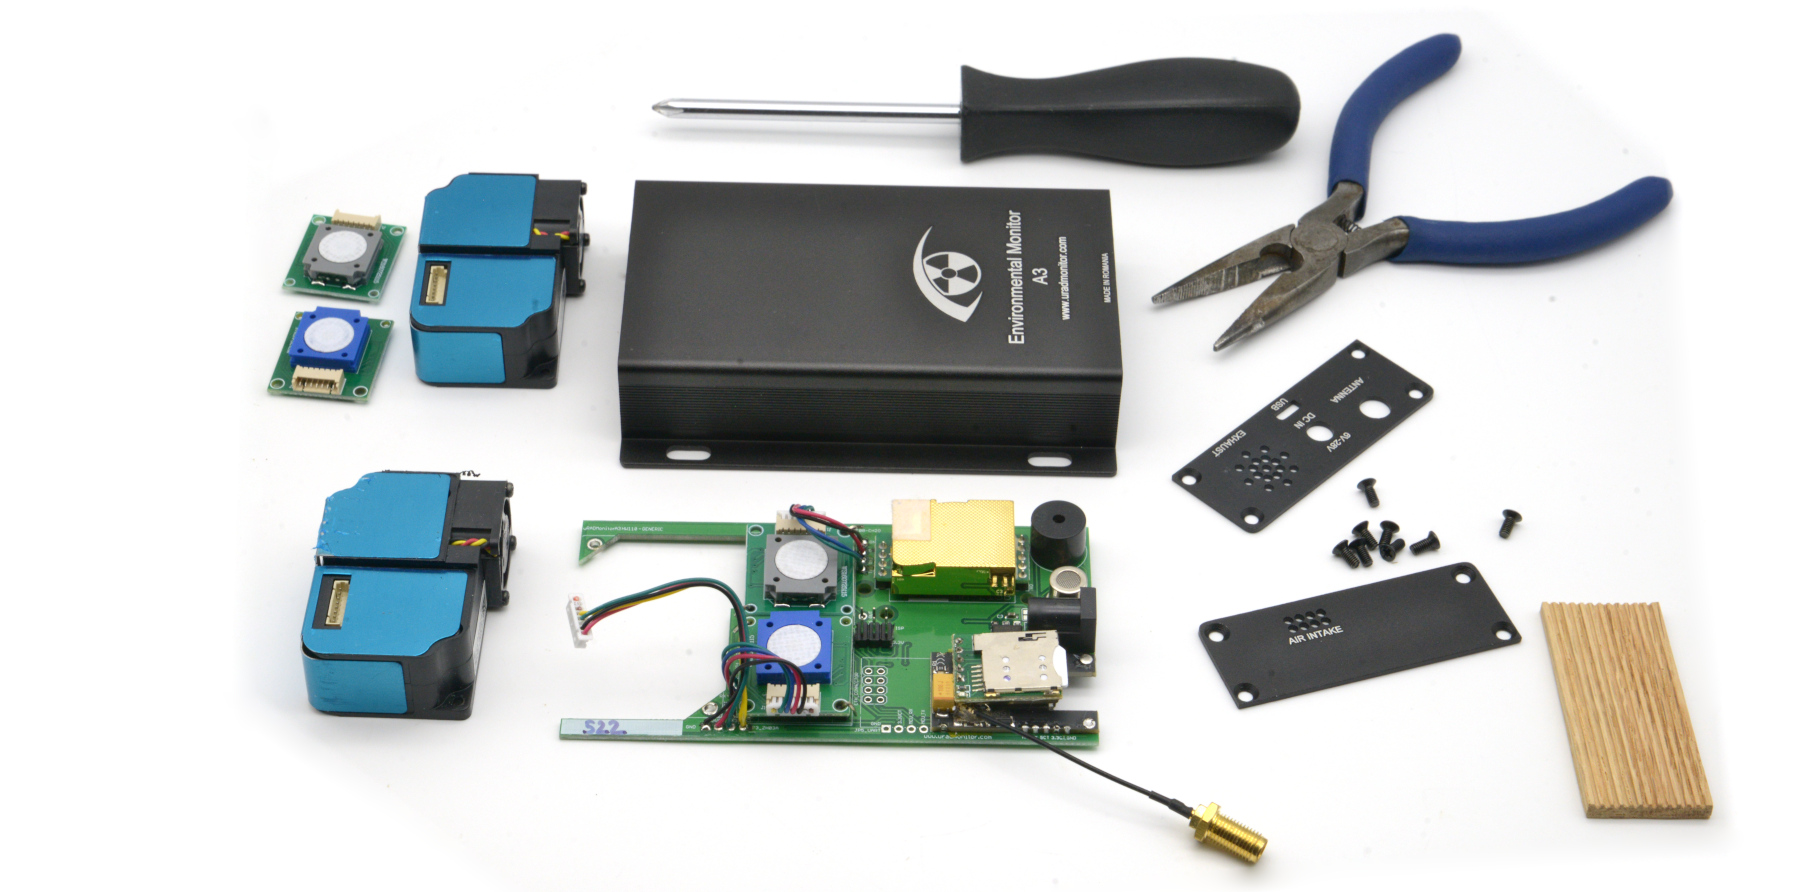
Place the new sensor in the corresponding space inside the motherboard, align the cable connector and press it in until it clicks down. The fan side faces the electronics just like the old one.
4. Remove and replace the Formaldehyde sensor
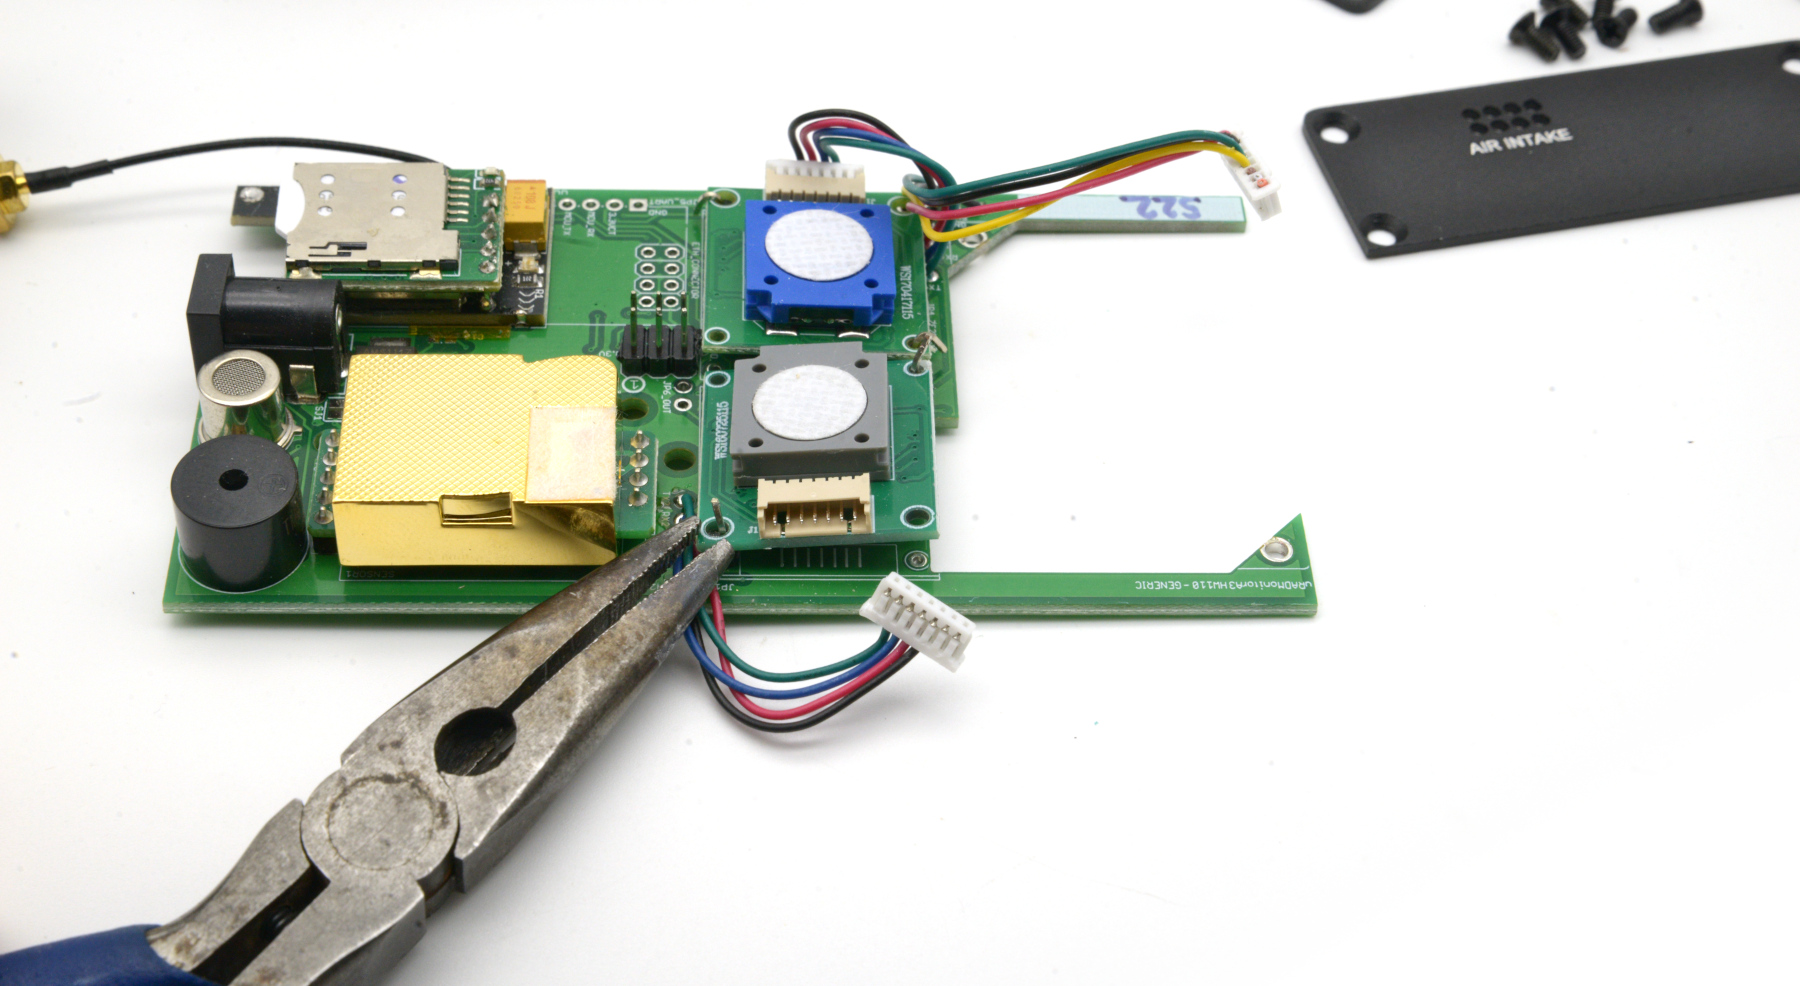
The Formaldehyde sensor is a small rectangular electrochemical cell with a grey plastic frame, located on the motherboard and held in place by thin metal pins bent inward at the corners — usually two pins, sometimes all four. It also has a small plug-in cable connector.
Start by disconnecting the cable: pull the plug straight out. Then, using flat-nose pliers, carefully straighten each bent pin back to vertical so they no longer grip the board. Once all pins are straight, the cell lifts cleanly off. Insert the new cell, bend the pins back inward to lock it in place, then reconnect the cable.
5. Remove and replace the Ozone sensor
Same process as Formaldehyde. The Ozone cell sits adjacent to it on the board and is easy to identify by its blue plastic frame. Disconnect the cable, straighten the pins, lift the old cell out, seat the new one, re-bend the pins, reconnect.
6. Close the enclosure
Once the three sensors are back in place, do a visual check before closing: confirm all cable connectors are fully seated. Slide the motherboard back into the enclosure from the same end it came out , PM sensor end going in first. Guide the board onto the rails and push gently but firmly from the other end until it sits flush inside. Do not force it; if it resists, check that it is aligned on the rails before continuing.
Place the lid on the PM sensor end and tighten the two screws. Then fit the lid on the opposite end and tighten those screws as well. Do not overtighten , the aluminium threads are fine and strip easily.
7. Power up and verify
Reconnect the power cable. Wait 2–3 minutes for the sensors to initialise and first data to go out. Open your dashboard and confirm PM, Formaldehyde and Ozone are reporting values.
Procedure for uRADMonitor MODEL A3 sensors in Aluminium enclosure
You’ll do the same like above, with a few differences:
1. Opening the enclosure
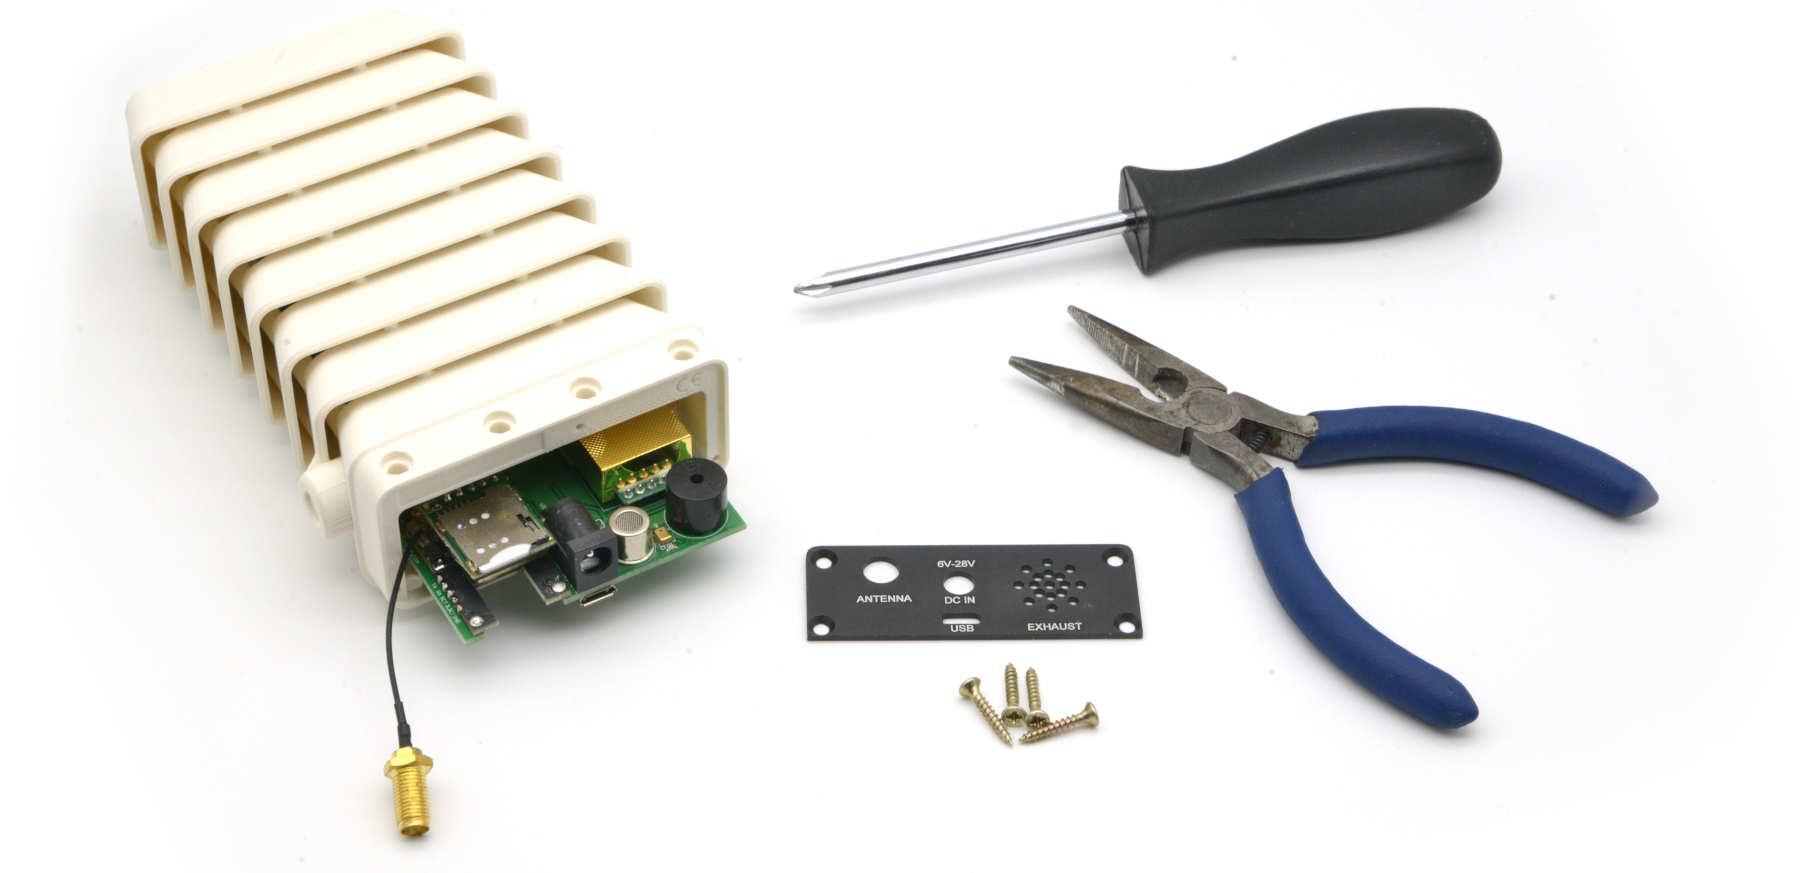
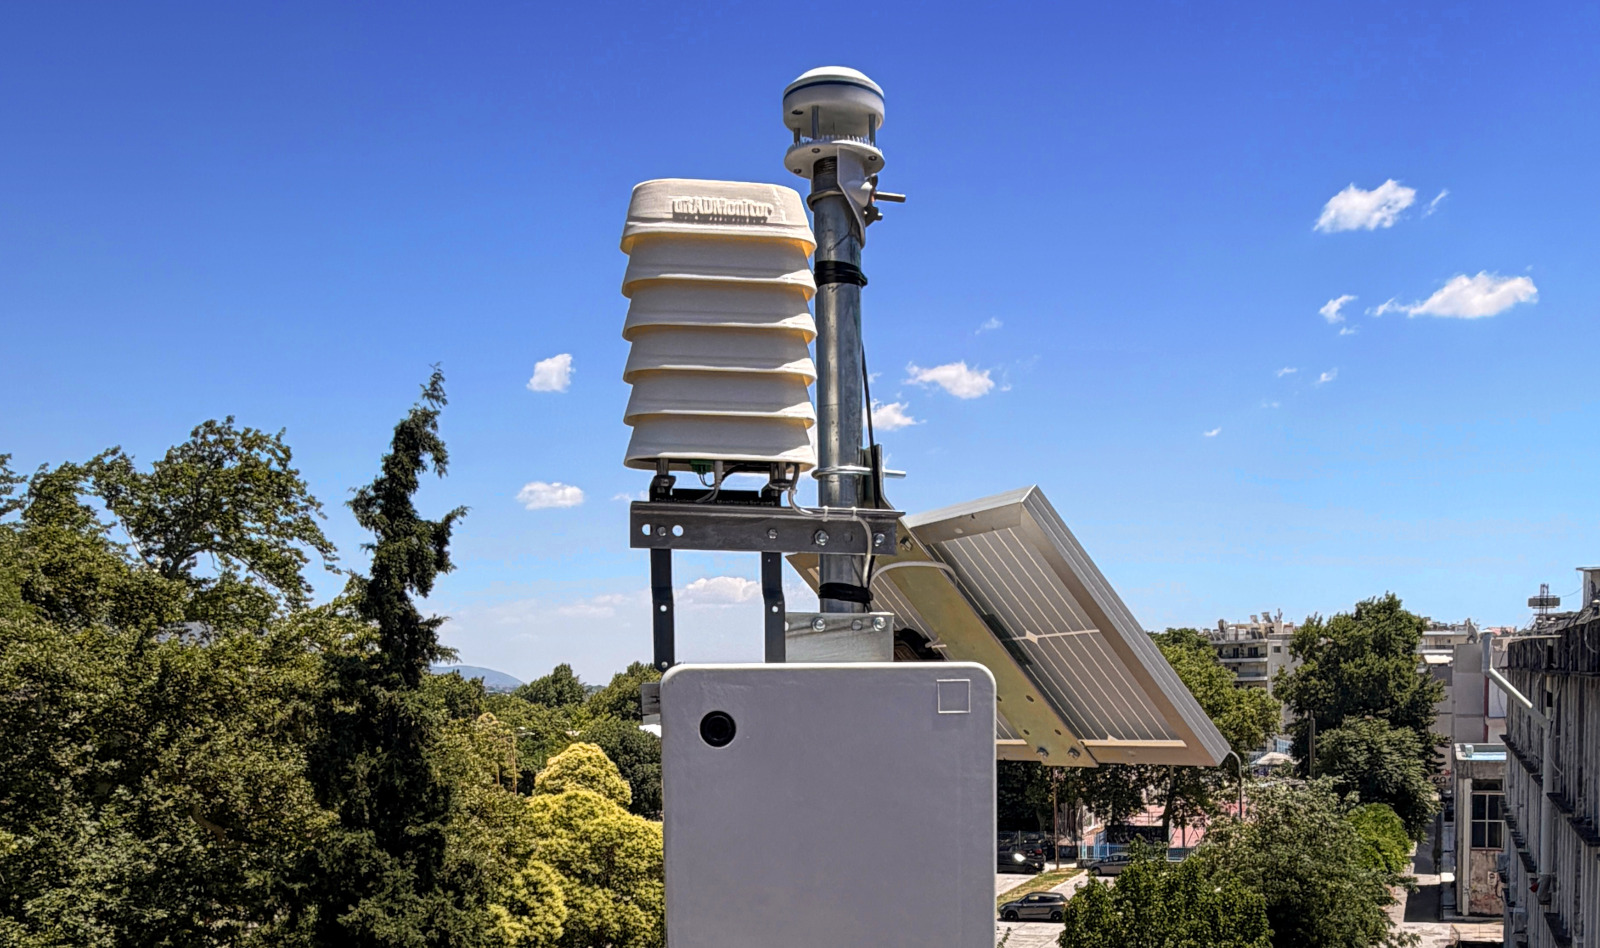
On the Stevenson shield there’s only one lid to remove. Take out the 4 screws, end extract the motherboard. Unlike the aluminium casing, there this step is easier thanks to wider internal space.
2. The PM Sensor
Here the PM sensor is held in place using two screws at its corners, see below, they are highlighted in red.
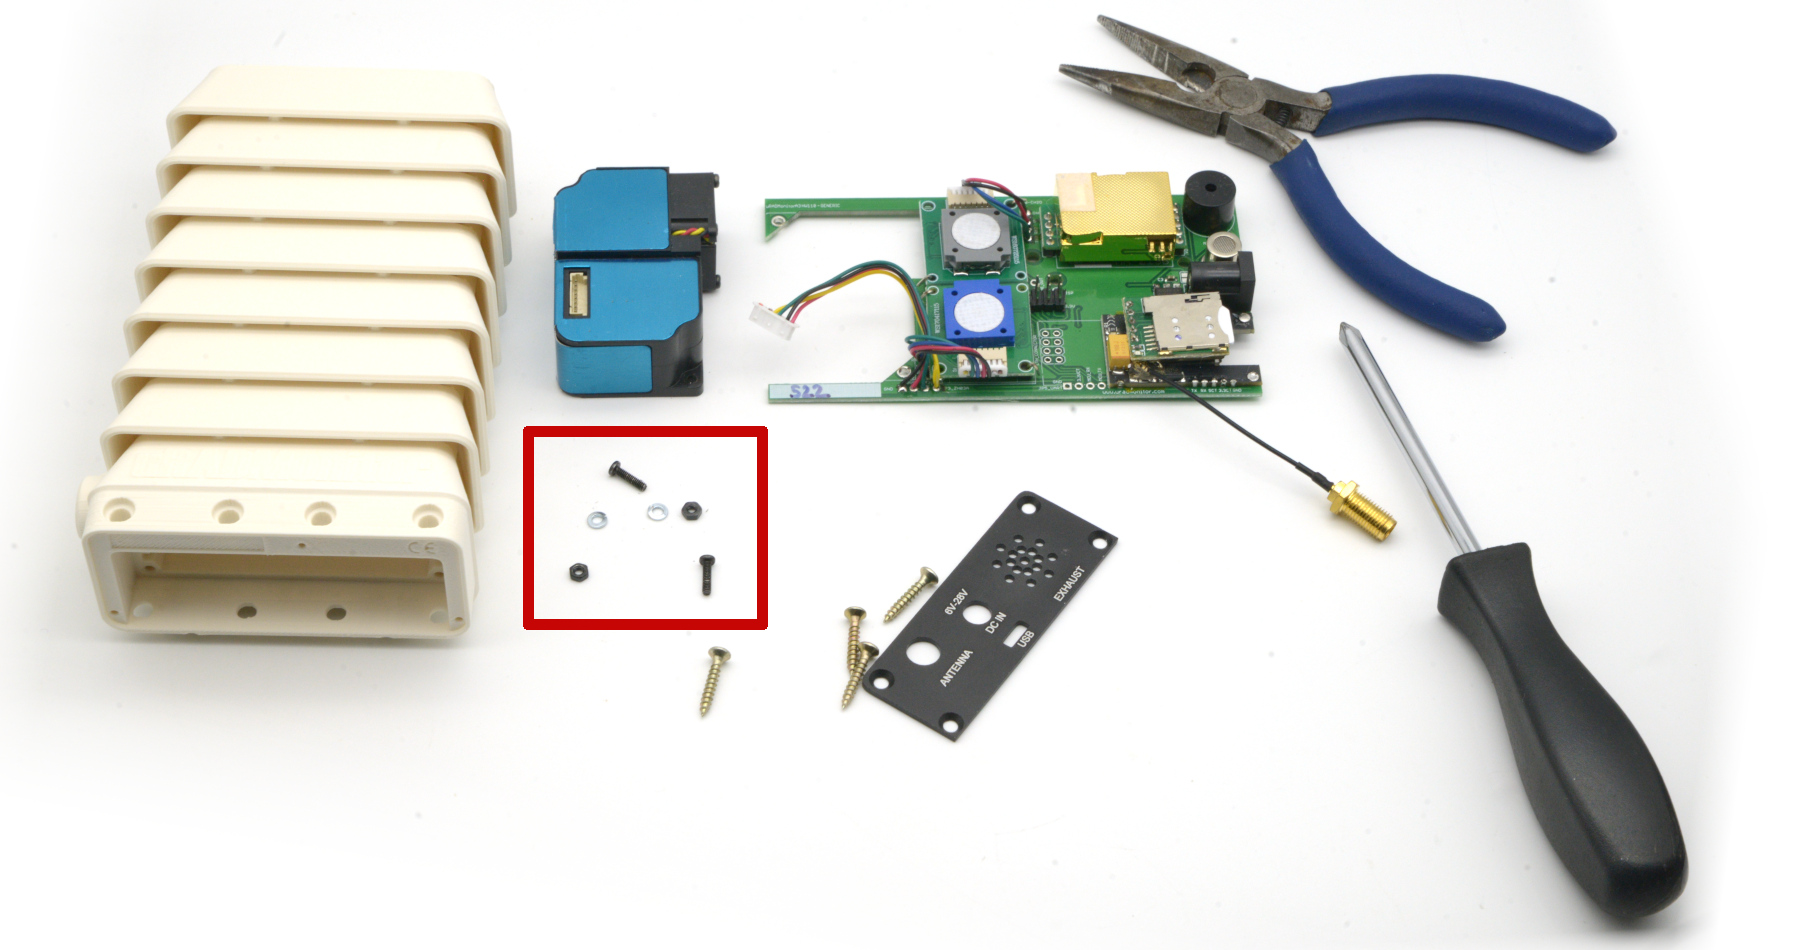
You’ll have to remove those before you can replace the sensor. Once you do, put the same screws back in place. Everything else is identical to the above.
After replacement
The sensors need a short burn-in period of 24–48 hours before readings stabilise fully, particularly the electrochemical cells. Slight variation in the first day is normal.
If a reading still shows as invalid after 48 hours, reply to your maintenance email or contact us with your device serial number.
Liked this? Get monthly air quality findings.
One email a month from the uRADMonitor network. Unsubscribe anytime.

codemore code
~~~~