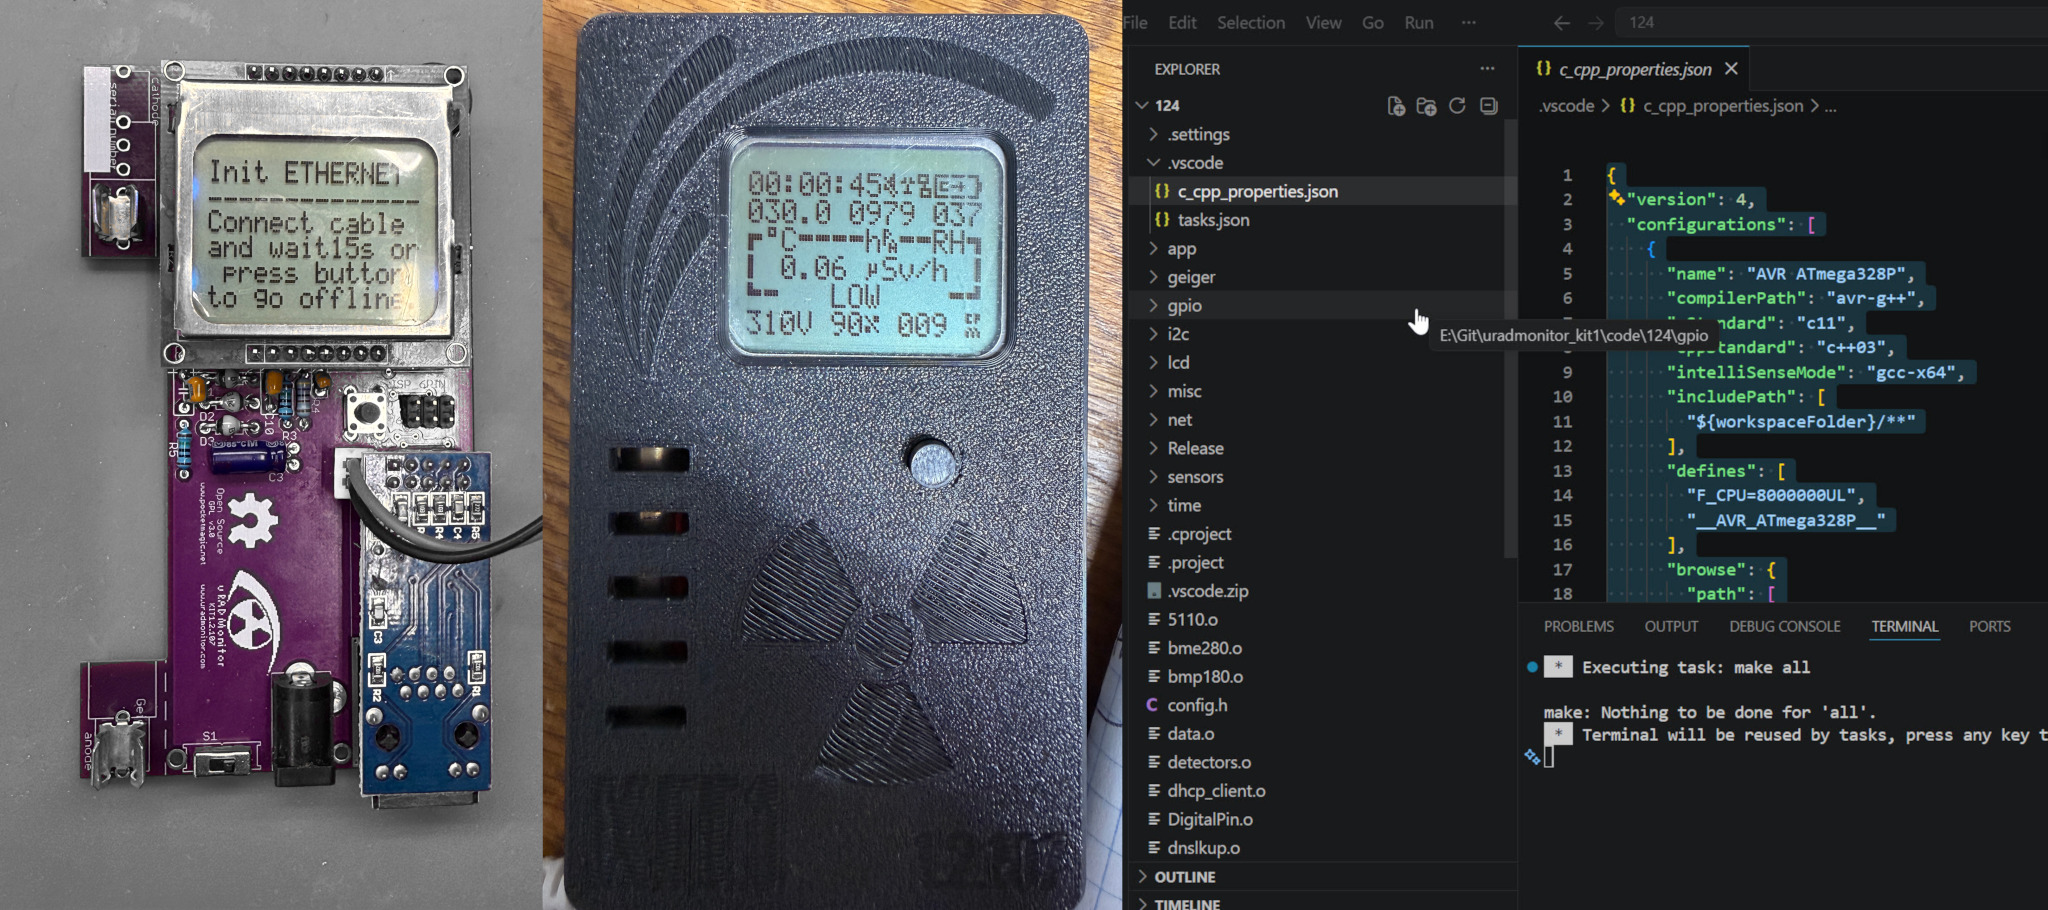
This article documents the steps I used to compile the uRADMonitor KIT1 firmware from the Github code/124 directory using Visual Studio Code on Windows.
The original uRADMonitor KIT1 firmware project was created for the AVR toolchain and appears to have been maintained using an Eclipse AVR-style project structure. That original setup is still valid, and the repository already contains the important build files if you want to use Visual Studio Code to compile it. This article is not meant to replace the author’s original toolchain or project layout, and you can still use it! It is simply a practical path for people who are more comfortable using Visual Studio Code instead.
The reason for documenting this is straightforward: I wanted to build the existing firmware without converting it or changing the source code, and without restructuring the repository. The actual work to get it to work in VSCode was not fixing the code – it was getting Windows, MSYS2, AVR-GCC, make, avrdude, and VS Code to all see each other correctly.
Once that environment was configured, the existing Makefile built the firmware successfully and produced the expected .elf and .hex files.
Base requirements for Studio:
The existing Makefile is located here in the Github repo:
code/124/Makefile
The original programming script is located here:
code/124/Release/prog.sh
That script shows the expected programmer and fuse settings:
avrdude -p atmega328p -c usbasp -U lfuse:w:0xDC:m -U hfuse:w:0xD7:m
The Eclipse AVR project settings also confirm the 8 MHz clock:
code/124/.settings/de.innot.avreclipse.core.prefs
avrtarget/ClockFrequency=8000000
The Makefile also confirms the MCU and CPU frequency:
-mmcu=atmega328p
-DF_CPU=8000000
Getting started: Download the Git Repo, Install Visual Studio Code and extensions
To get started, download the Git repo, then install Visual Studio Code as well as the Microsoft C/C++ extensions.
The extensions provide C/C++ editing support and IntelliSense. The actual build still uses the existing Makefile and AVR-GCC toolchain.
Install MSYS2 on Windows
On Windows, I used MSYS2 to install the AVR development tools.
Download and install MSYS2, then open this shell from the Start Menu:
MSYS2 MINGW64
Do not use the plain MSYS2 shell for this step. Use the MINGW64 environment.
First update MSYS2:
pacman -Syu
If MSYS2 asks you to close the terminal after updating, close it, reopen MSYS2 MINGW64, and run the update command again:
pacman -Syu
Then install the AVR toolchain and build tools:
pacman -S--needed mingw-w64-x86_64-avr-gcc mingw-w64-x86_64-avr-binutils mingw-w64-x86_64-avr-libc mingw-w64-x86_64-avrdude make
This installs the AVR compiler, AVR binutils, AVR libc, avrdude, and make.
Add MSYS2 paths to Windows PATH
This was the main Windows issue I encountered. I installed MSYS2 into C:\msys64.
After installing the packages, avr-gcc and avrdude were visible, but make was not visible from VS Code because VS Code was launching the build task through Windows PowerShell.
The fix was to add both of these folders to the Windows PATH (“Edit the System Environment Variables” in Windows 11):
C:\msys64\mingw64\bin
C:\msys64\usr\bin
The first path contains the AVR tools such as avr-gcc and avrdude. The second path contains make.exe.
After changing PATH, fully close and reopen Visual Studio Code. A normal reload is not always enough because the integrated terminal and task runner need the updated environment.
Confirm the tools are visible
After reopening VS Code, open a new terminal and run:
make --version
avr-gcc --version
avrdude -?
If all three commands respond, the toolchain is visible to VS Code.
If avr-gcc and avrdude work, but make does not, check that this folder was added to PATH:
C:\msys64\usr\bin
You can also test it directly from Command Prompt:
C:\msys64\usr\bin\make.exe --version
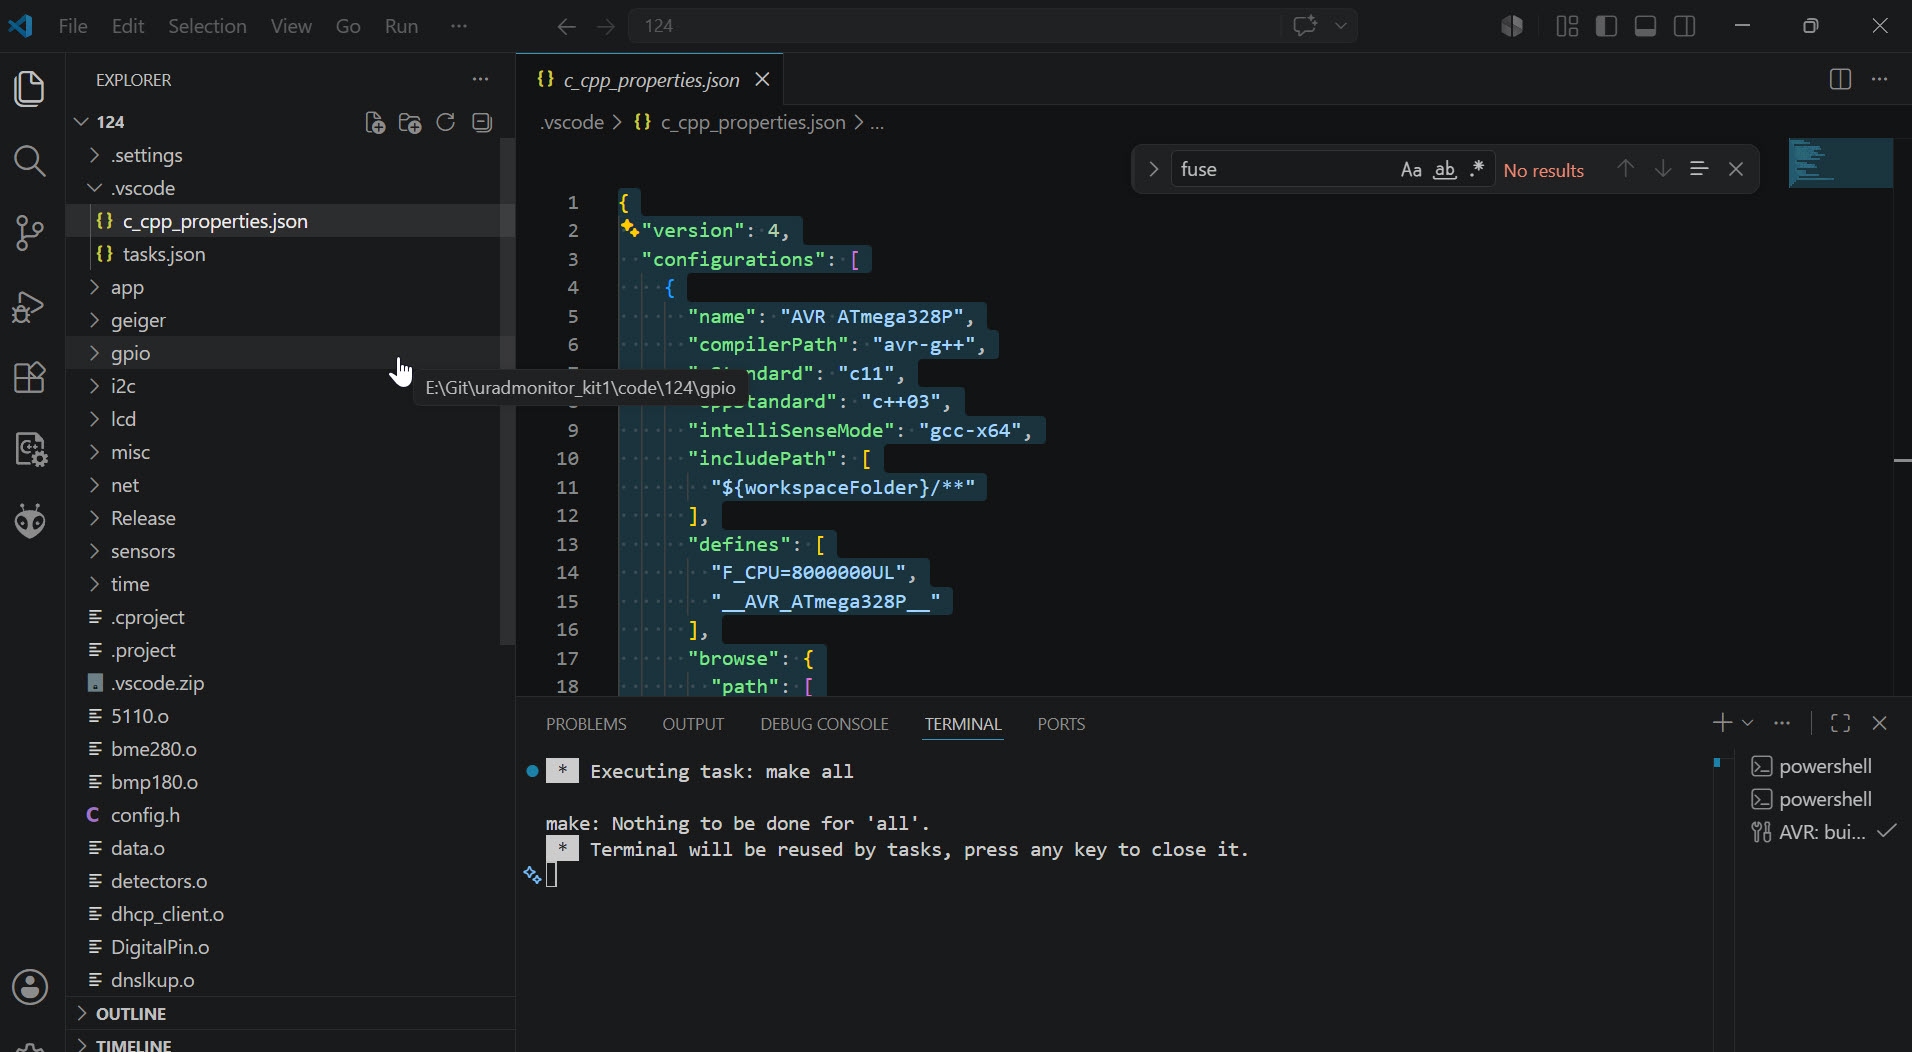
Add VS Code task files
I added a .vscode directory inside code/124 with two files:
.vscode/tasks.json
.vscode/c_cpp_properties.json
The tasks.json file lets VS Code run the existing Makefile. The important build command (used in a terminal) is:
make all
A minimal tasks.json could look like this:
{
“version”: “2.0.0”,
“tasks”: [
{
“label”: “AVR: build uRADMonitor 124”,
“type”: “shell”,
“command”: “make”,
“args”: [“all”],
“options”: {
“cwd”: “${workspaceFolder}”
},
“group”: {
“kind”: “build”,
“isDefault”: true
},
“problemMatcher”: “$gcc”
},
{
“label”: “AVR: clean”,
“type”: “shell”,
“command”: “make”,
“args”: [“realclean”],
“options”: {
“cwd”: “${workspaceFolder}”
},
“problemMatcher”: []
},
{
“label”: “AVR: flash uRADMonitor.hex with USBasp”,
“type”: “shell”,
“command”: “avrdude”,
“args”: [
“-V”,
“-p”, “atmega328p”,
“-c”, “usbasp”,
“-U”, “flash:w:uRADMonitor.hex:i”
],
“options”: {
“cwd”: “${workspaceFolder}”
},
“problemMatcher”: []
},
{
“label”: “AVR: set fuses for 8MHz external crystal USBasp – DANGEROUS”,
“type”: “shell”,
“command”: “avrdude”,
“args”: [
“-p”, “atmega328p”,
“-c”, “usbasp”,
“-U”, “lfuse:w:0xDC:m”,
“-U”, “hfuse:w:0xD7:m”
],
“options”: {
“cwd”: “${workspaceFolder}”
},
“problemMatcher”: []
}
]
}
A minimal c_cpp_properties.json file can look like this:
{
“version”: 4,
“configurations”: [
{
“name”: “AVR ATmega328P”,
“compilerPath”: “avr-g++”,
“cStandard”: “c11”,
“cppStandard”: “c++03”,
“intelliSenseMode”: “gcc-x64”,
“includePath”: [
“${workspaceFolder}/**”
],
“defines”: [
“F_CPU=8000000UL”,
“__AVR_ATmega328P__”
],
“browse”: {
“path”: [
“${workspaceFolder}”
],
“limitSymbolsToIncludedHeaders”: true
}
}
]
}
If the Windows PATH variable is not configured, the task can instead call make.exe directly:"command": "C:\\msys64\\usr\\bin\\make.exe"
However, adding the MSYS2 folders to PATH is cleaner because it also helps VS Code find the AVR tools.
Build from VS Code
In VS Code, open this folder:
code/124
Then run:
Terminal > Run Build Task
(If prompted) Select:
AVR: build uRADMonitor 124
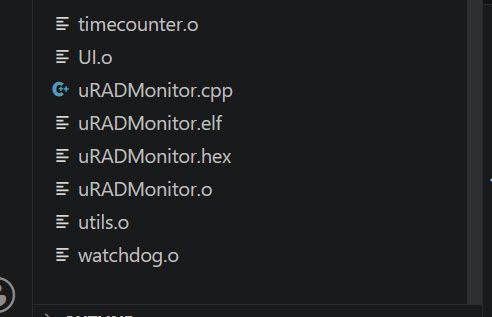
The build should generate these files in the code/124 directory:
uRADMonitor.elf
uRADMonitor.hex
The important firmware output file is:
uRADMonitor.hex
That is the file to flash to the ATmega328P.
Keep your eye on the problems tab in Visual Studio, you should only see things pop up there. If successful, you will see a message in the terminal saying “Terminal will be reused by tasks…” and those two files mentioned above will be in your code/124 directory.
Build from the terminal
Troubleshooting: Before troubleshooting VS Code, it is useful to confirm that the Makefile works directly.
From the VS Code terminal, while inside code/124, run:
make clean
make
If the environment is correct, this should build the firmware and produce:
uRADMonitor.elf
uRADMonitor.hex
Fuse settings
The fuse settings are documented in:
code/124/Release/prog.sh
The script uses:
Low fuse: 0xDC
High fuse: 0xD7
The matching extended fuse value for brown-out detection disabled is:
Extended fuse: 0xFF
In your programming software, pick an Atmega 328p. The fuses settings above should allow the 8MHz oscillation.
Be careful when writing fuses. If the wrong fuses are written, the AVR may appear unresponsive until the correct fuse values are written. Before writing fuses, it is a good idea to read and save the current fuse values:
avrdude -p atmega328p -c usbasp -U lfuse:r:lfuse_read.hex:h -U hfuse:r:hfuse_read.hex:h -U efuse:r:efuse_read.hex:h
From here you should be able to follow the rest of the original guide to either use avrdude and program the IC or use your own programmer and program the Atmega 328p.
What actually had to be solved to get Visual Studio working
The important point is that the repository was already buildable. The source code and Makefile were not the problem.
The problem was the Windows development environment. Visual Studio Code was launching the build task through Windows PowerShell, and PowerShell could not initially find all of the command-line tools needed by the existing Makefile.
So the practical fix was to install the AVR tools through MSYS2, add the correct MSYS2 folders to the Windows PATH, and then add a small .vscode folder so VS Code could call the existing Makefile conveniently. After we did that, the files build successfully!
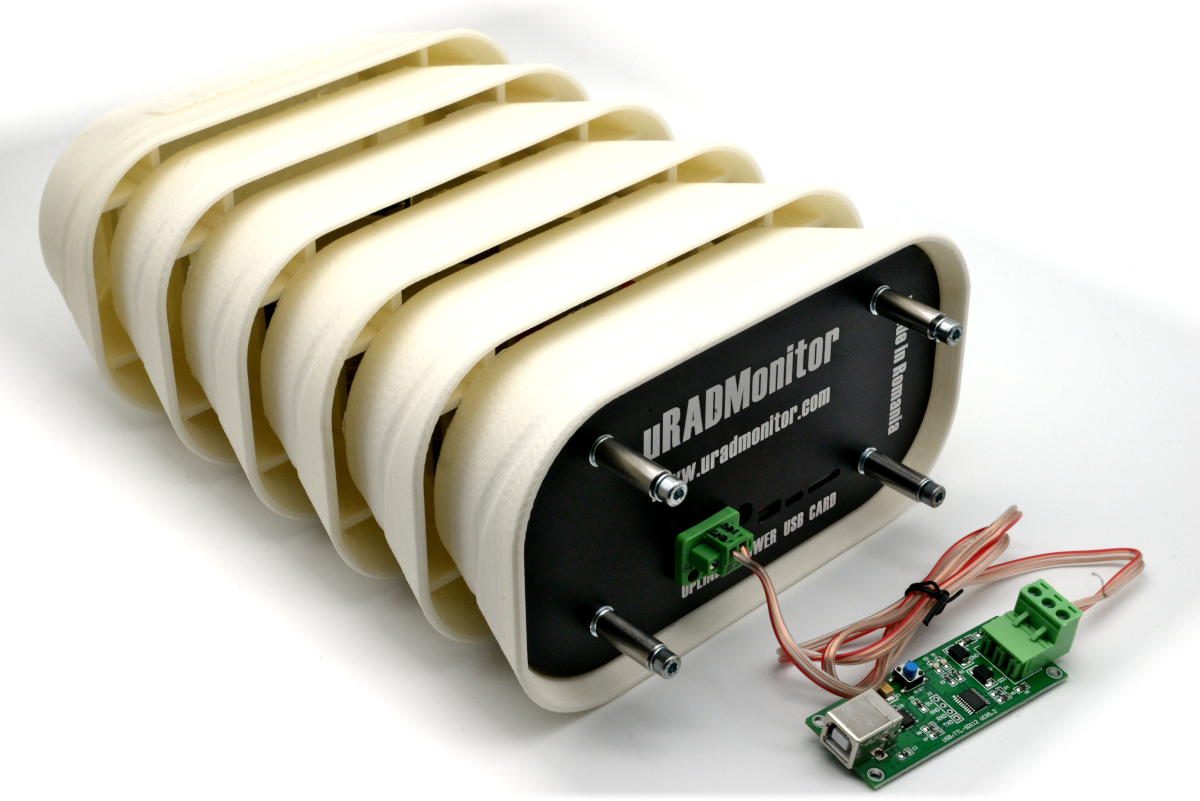
Thank you to Radu for an amazing piece of hardware engineering, and for the opportunity to write this guide for Visual Studio. Feel free to comment on it for any corrections or any other improvements, as I am just another hobbyist like you experimenting with my KIT1.
- J. Guidry – 5/14/2026
- http://www.github.com/hexbus
codemore code
~~~~