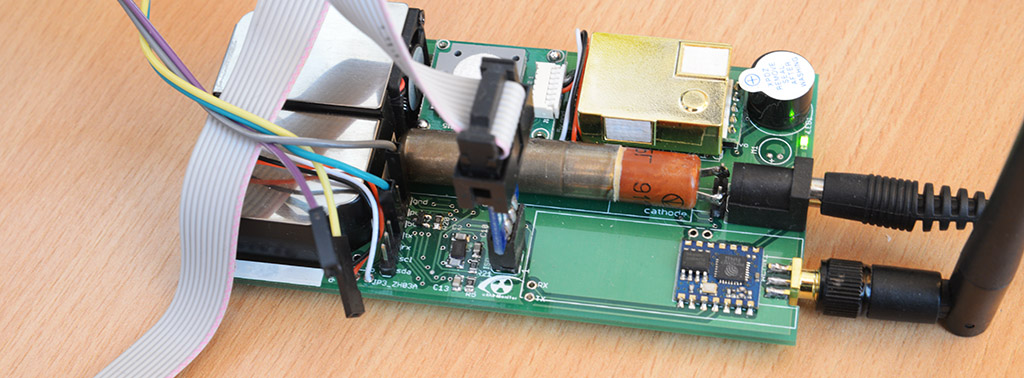
The uRADMonitor model A, the KIT1 and the model A3 with Ethernet have all taken advantage of various scripts and tools developed by the community which allowed direct data access over their LAN connection. You can see a few of these below:
uRADMonitor weather station integration
Local stats graph with uRADMonitor
RRD Tool graphing
Include uRADMonitor in monitoring software
Setup local graphs
uRADMonitor-X
On the other hand, the A3 WLAN variant, while offering excellent cable free installations, it didn’t provide an embedded mini webserver, for direct access to the measurements like the above. This was an issue, especially because there was no way to configure the WLAN settings of the A3. To make it connect to a given SSID, one needed to have the details hardcoded in the firmware. Something that some of you were rightfully not happy with.
Firmware upgrade for the A3 with Wifi
“Due to popular demand…”, so many great things related to uRADMonitor started this way. Same with this one. You asked for this feature, and we finally have it. Starting with firmware v124, the A3 Wifi variant exposes an embedded webserver, that can be used for direct data access, including with the tools mentioned above, but also for setting up the SSID and password to connect to for Internet access. The format of the mini webpage stays the same, here are two snapshots, first is unit 8200005F connected via Wifi and the second is 82000062 using Ethernet connectivity. You can see the content is the same.


The JSON format remained the same, so it will work out of the box with all the previous tools:

Finally, the third section of this mini webpage is the WLAN configuration page, that provides a basic mechanism to setup the wireless network you want your A3 to connect to. There are two fields for entering the SSID and the key, and a status text to indicate if the connection was successful.

First time setup guide
The uRADMonitor A3 is a powerful air quality detector, equipped with probably more sensors than you’ll ever need. The WLAN variant offers great flexibility in installing this unit virtually anywhere, both indoors and outdoors. While we’re at it, you can read more on the A3 sensors and see full product specs here. The first time you start an A3.Wifi unit, you’ll need to set it up. Make sure the radio antenna is connected, then power it up. On a nearby computer with Wifi, check the list of available Access Points. The complex A3.Wifi firmware spawns a local Wifi hotspot, that you can connect to. The name is uRADMonitor-XX, where the last two symbols are the last two of the unique device ID:

The A3 Wifi Hotspot is password protected. You will find the password in the docs accompanying the A3 unit. Next open the A3 IP in your browser, http://192.168.4.1 , and click the “WIFI” link at the bottom:

The Wifi Settings page is a simple dialog where you need to enter the SSID and password of the Access Point you want your A3 to connect to, before it can report data online:

Press the button and a few moments later the status text will update. If the SSID and key are correct, and the Access Point is in range, you’ll see the label showing “Connected”, and your setup is complete. The credentials are saved and will be used from now on, including after power cycles.

With the unit connected to your Access Point, you can also access the internal website using the allocated LAN IP.
Getting the new features
You can update your A3 to the new firmware right now. Contact us for the firmware file. The update process is similar to the one presented here, for the Model A. Dave Jones at EEVBlog did a comprehensive video review on how he updated the firmware on his own model A unit. The procedure is identical for the model A3 as well:

codemore code
~~~~