Pre-reading
The firmware upgrade is rather simple and straight forward; however, I would strongly recommend reviewing the two resources below and watching Dave Jones from EEVBlog video tutorial “Adventures in AVR ISP Programming” as this displays some gotcha that can be avoided due to Dave has documented them very well.
Pre-requisites
Compatible Programmer – USBasp (3.3V compatible)
To make life simple I purchased new from ebay the following with a total cost of approximately $3.50:
- 3V / 5V USBasp Downloader ISP AVR Programmer Adapter V2

- 6 Pin To 10Pin Convert Adapter Board For ATMEL STK500 AVRISP USBASP

Firmware
Follow Radu’s instructions to obtain the correct firmware: “the new firmware compiled for your own uRADMonitor unit. It comes as a small .hex file. Send us a mail to get it, and don’t forget to include your uRADMonitor Device ID.”
Once the firmware is received copy the new firmware to a folder on your computer. I normally use a Mac; however, in this case I did use a WINTEL computer, so I will use a simple folder location (D:\), which will be used later on.
Removing the MODEL A3, header connection and firmware upgrade
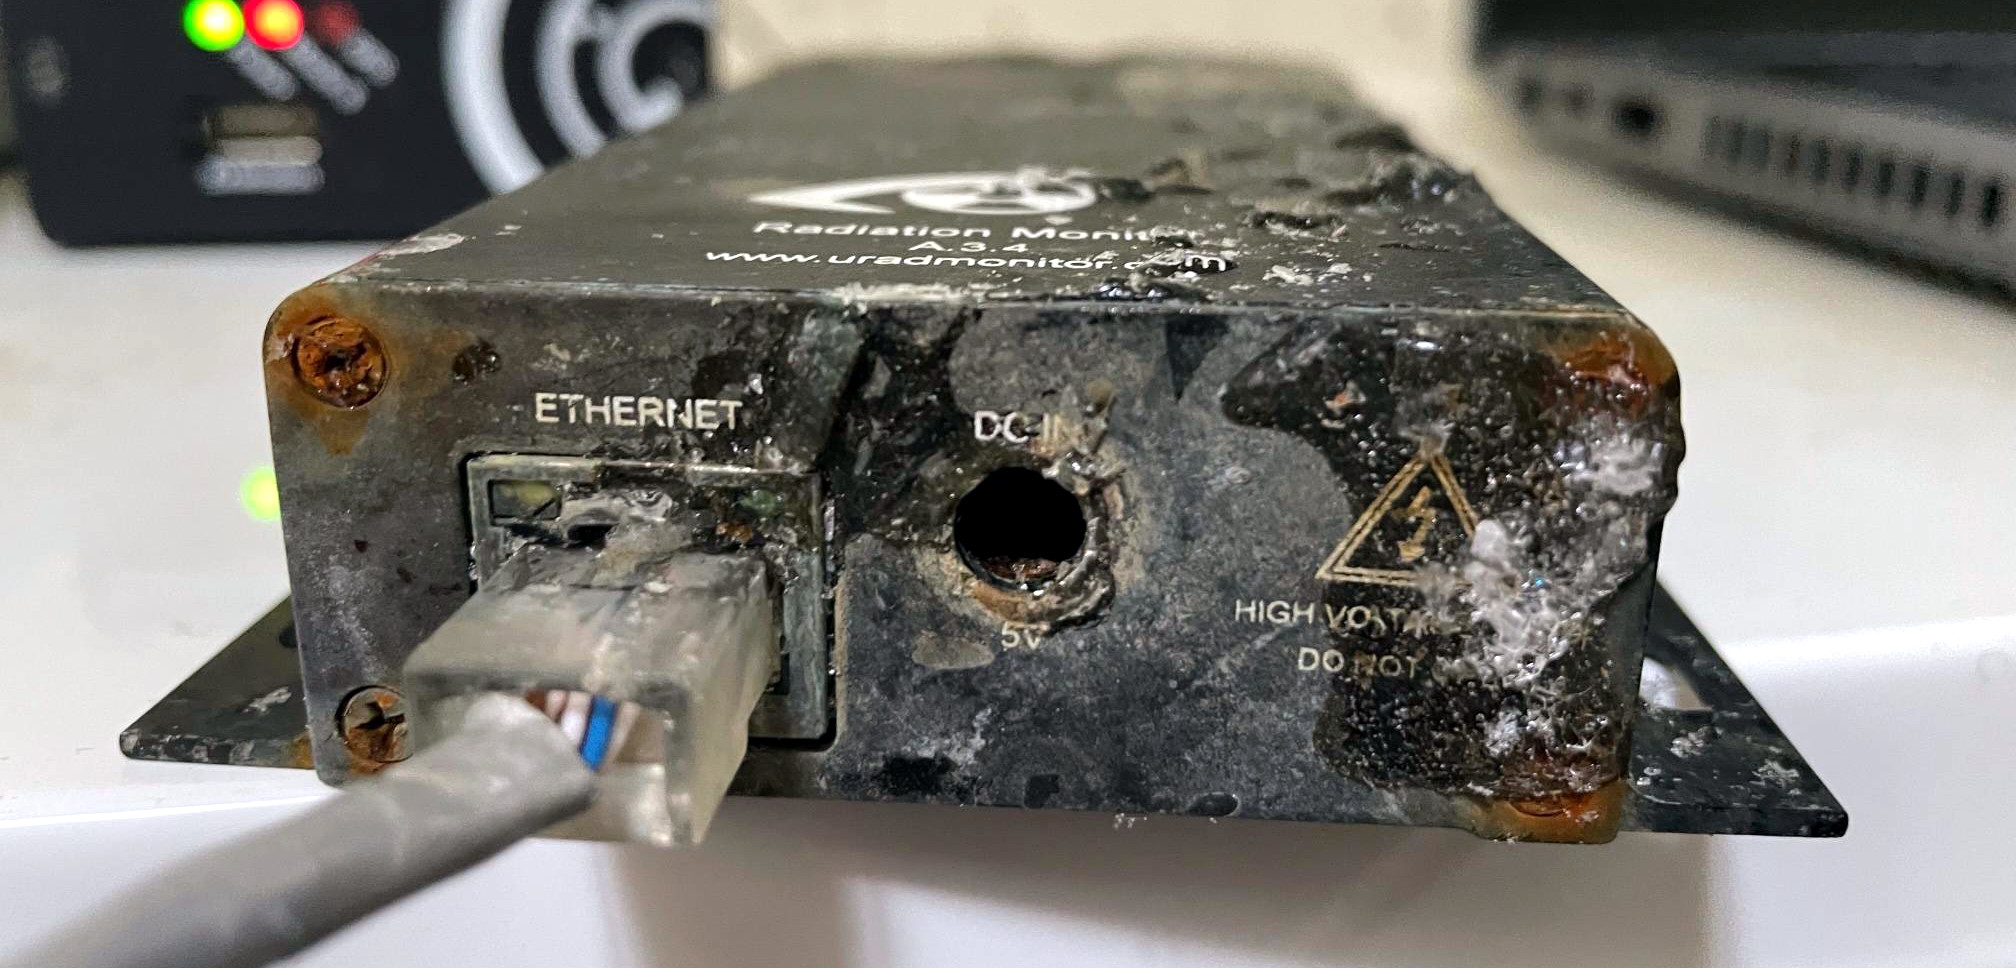
For the A3, remove the end with the Air Intake.

With this end removed this enabled the board to be easily pushed out without removing the other end.

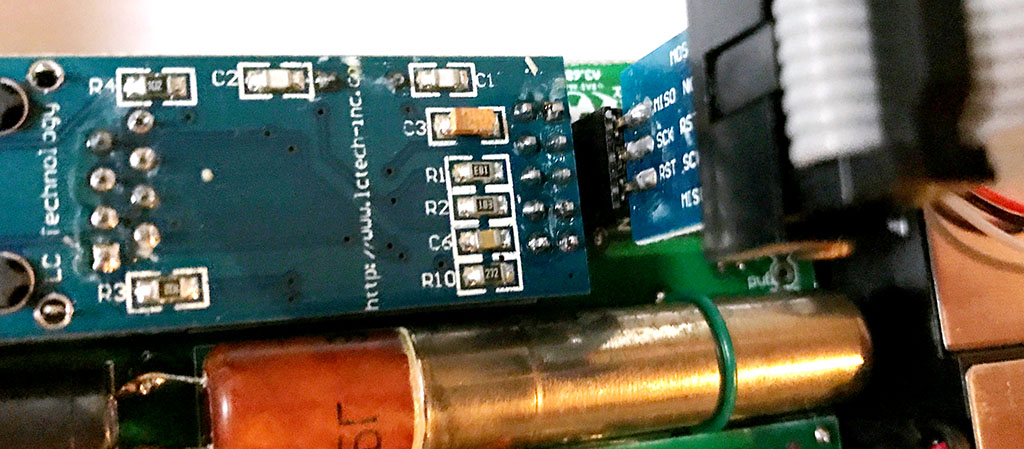
The A3 model has a 6 pin header and pin 1 is clearly marked on the circuit board; but for the sake of clarity, I have indicated PIN 1 in red below.

As I used the adapter, it was simply aligning PIN 1 to PIN 1… which is indicated by the red strip of the ribbon cable.

When the connection is successful, a red LED on the uRADMonitor PCB, located underneath the raised board will light.
Make sure avrdude is installed on your computer. This open source tool can be downloaded here. There are several website offering compiled versions that you can use. Here is one for Windows, one for Unix and one for MacOS. Follow the instructions to install the software tools for your platform
Open a terminal window and type the following command:
avrdude -p atmega328p -P usb -c usbasp -U flash:w:{firmware}:i
- {firmware} = file location and file name e.g D:/ uradmonitor-A-prod.hex
- Example “avrdude -p atmega328p –P usb -c usbasp -U flash:w:D:/ uradmonitor-A-prod.hex:i”
The firmware upgrade should only take about 30 seconds and if you have everything is configured; you will see a text-mode animation showing a progress indicator. Wait for the firmware update to finish, remove, reassemble and you’ll be all done.
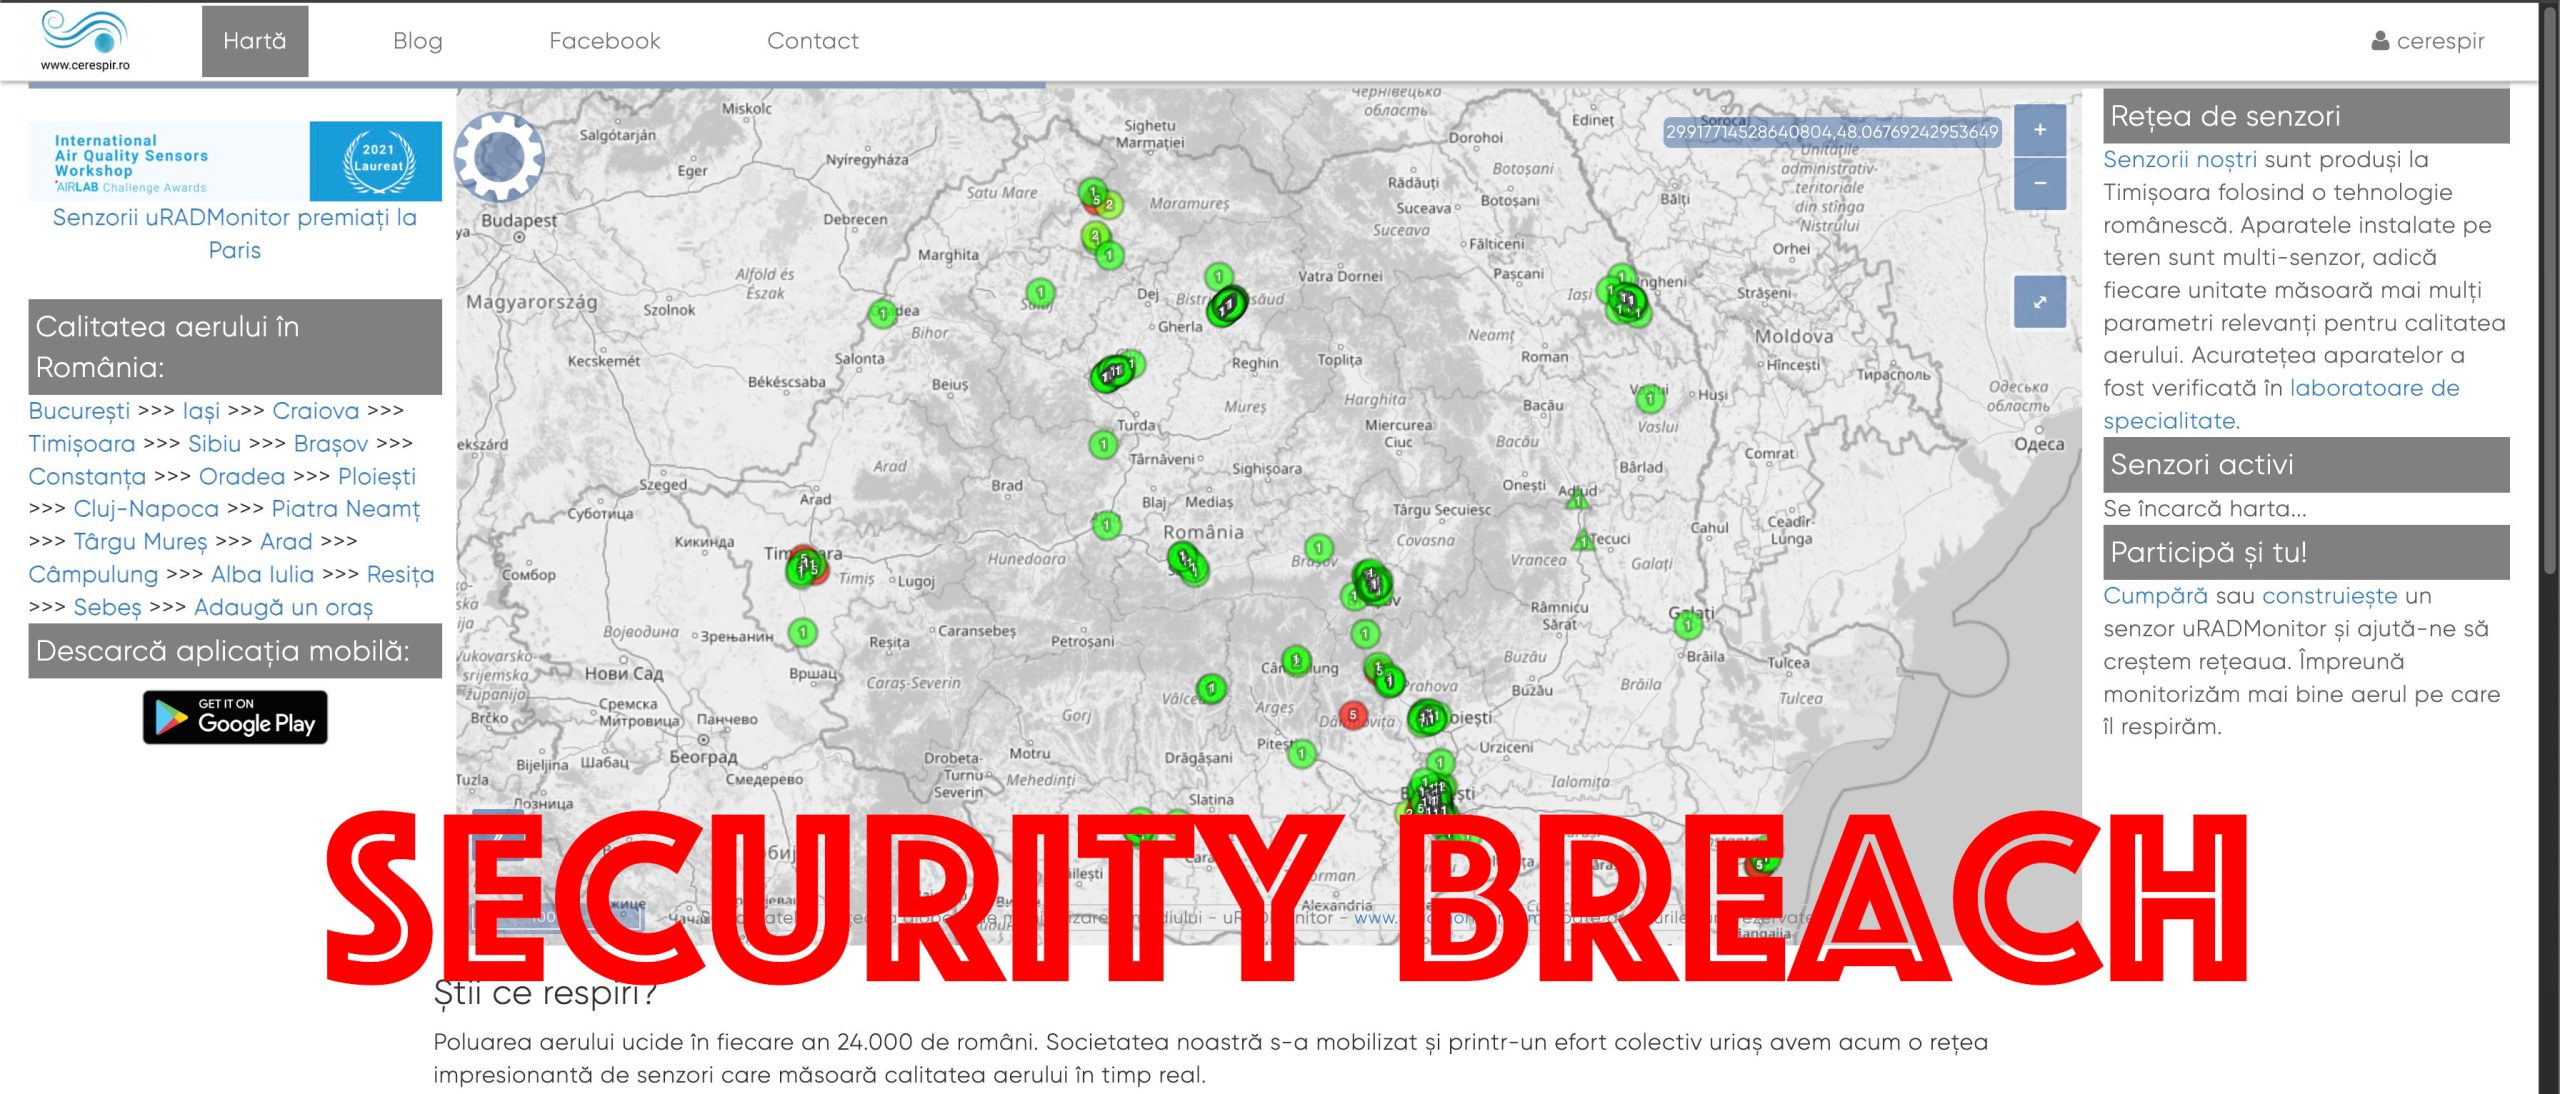
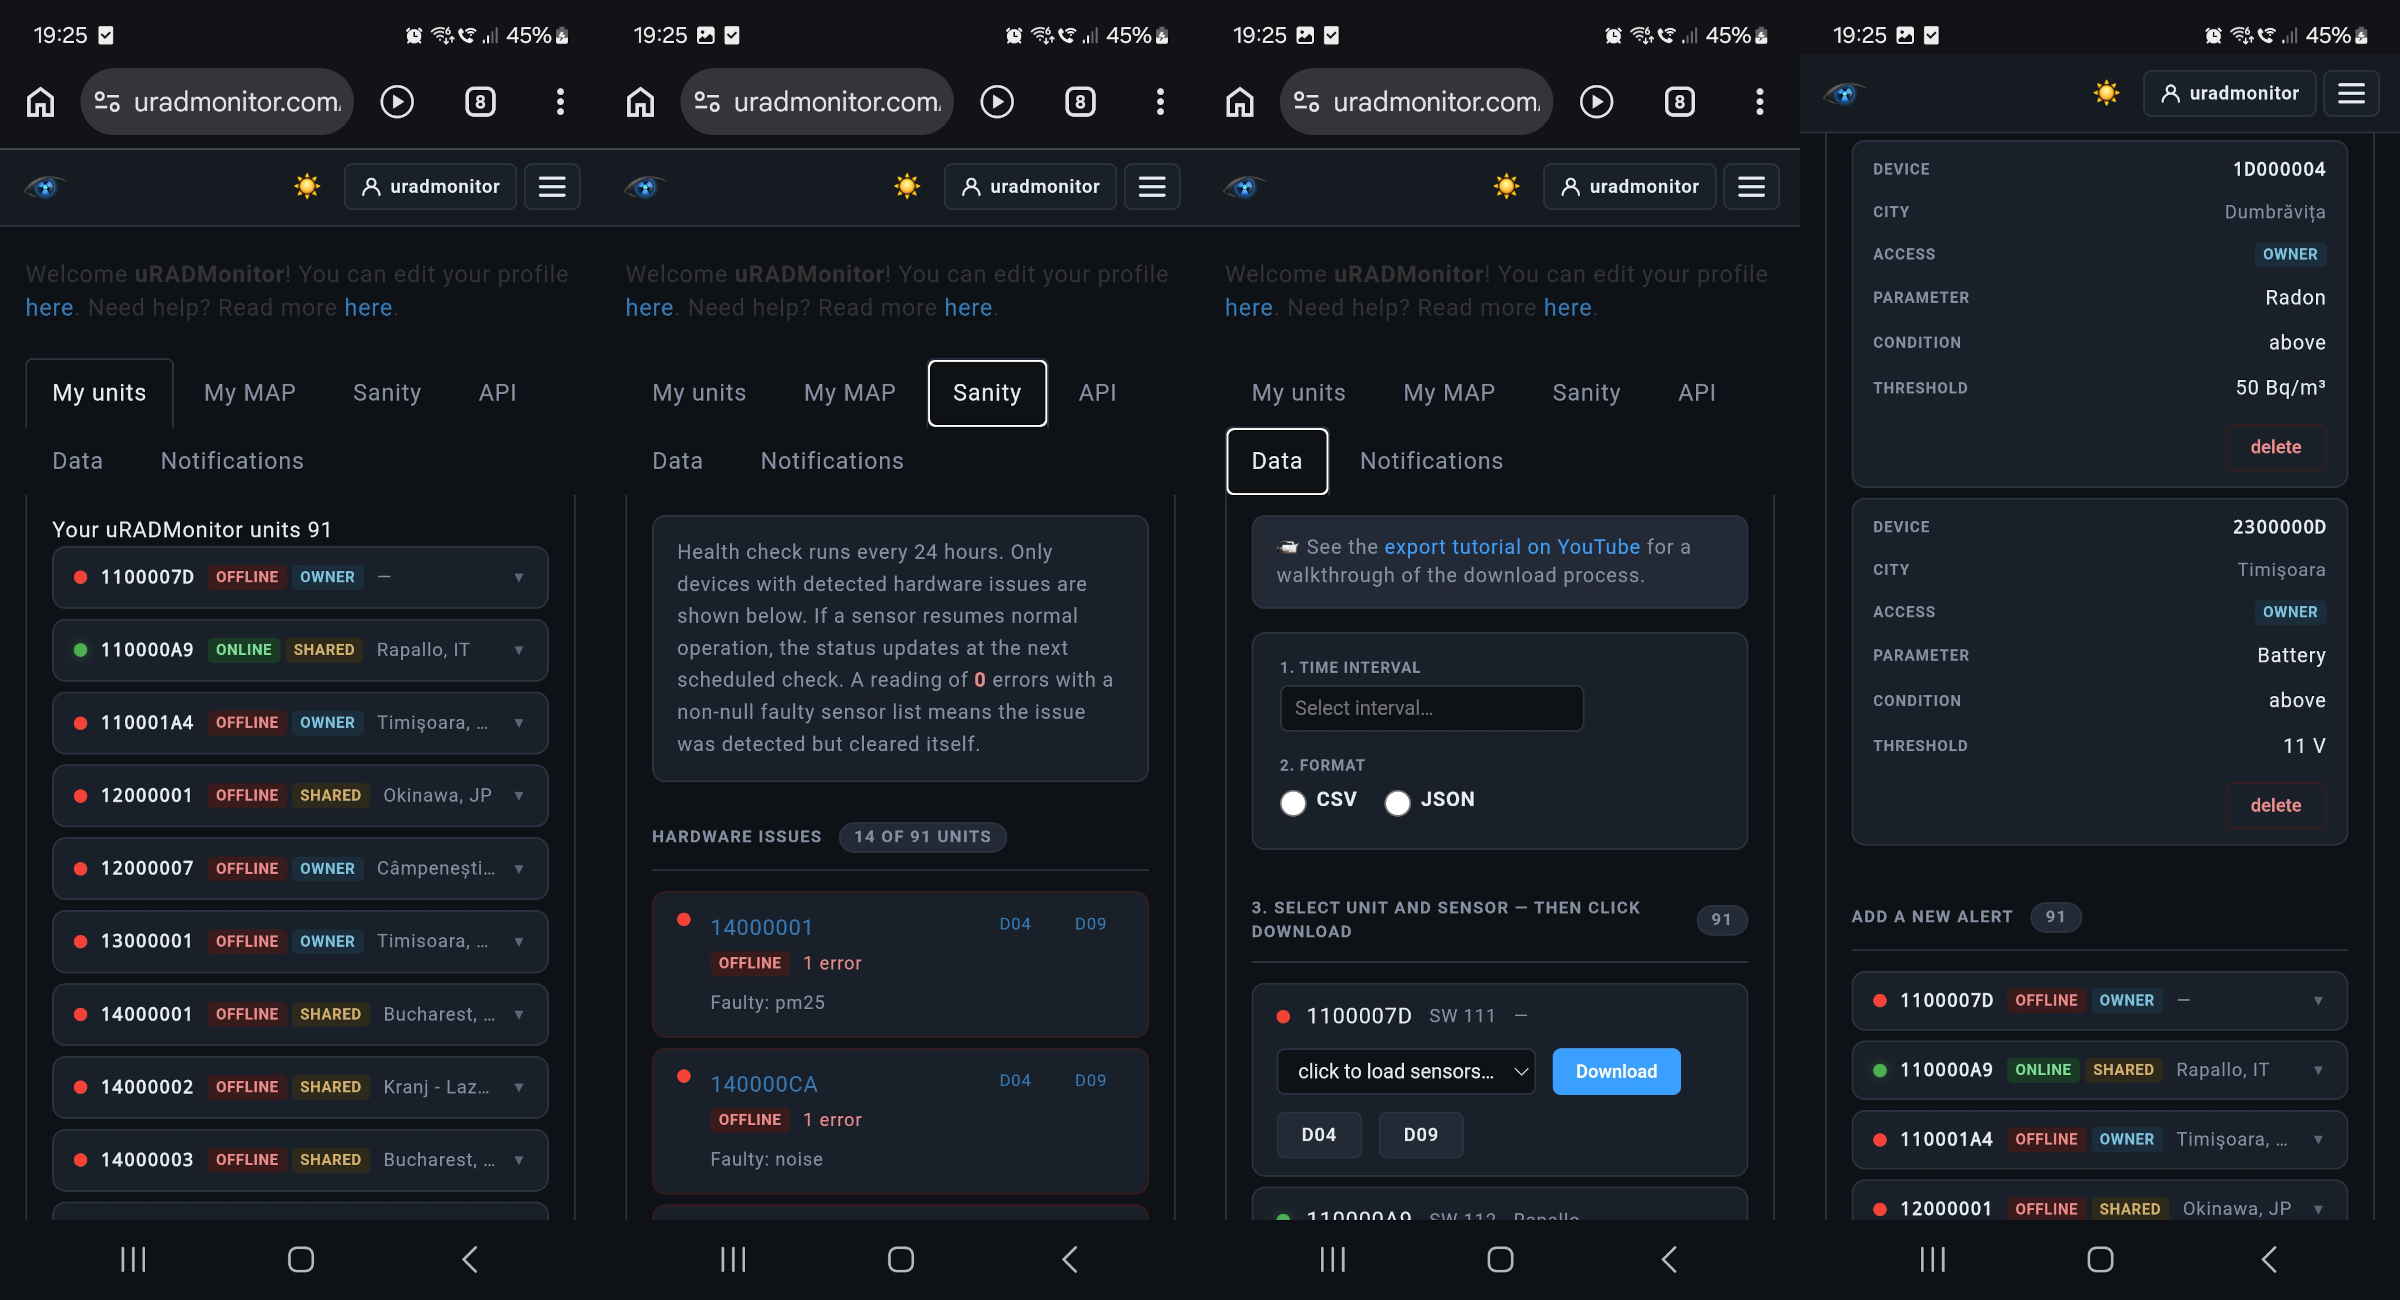
Go to your unit either locally or via uradmonitor.com and verify the firmware and your unit is online and functional.

codemore code
~~~~