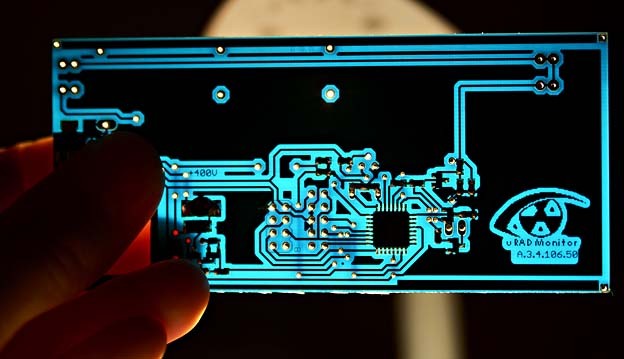
As a project targeting global coverage, uRADMonitor was designed with all the important features right from the start: the units are plug and play, the network settings are automated via DHCP, the location is estimated automatically based on IP and so turning the unit on is enough to have a new node on the map, measuring radiation automatically while the data is displayed on the server as charts.
But like with everything else, continuous effort is being made to make uRADMonitor even better. Some of these improvements are on the server side and are applied transparently, and others are targeting the electronics and the embedded code running on the units themselves. We call this code firmware, a term coined in embedded engineering.
To update the firmware, the new code must be downloaded to the uRADMonitor unit. Currently this is possible only by wires – connecting the uRADMonitor to a computer (via a programmer and a cable) . Future versions might provide OTA (Over the air) firmware upgrades, to compensate for the inconvenience of un-mounting the detector, opening its case and having all the programming toolchain in place. But as said, the units are functioning perfectly with the stock firmware, and upgrading the firmware is optional for those willing to undertake the extra effort.
Preparing the upgrade
You will need the following:
Programmer (usbASP) 3.3V Voltage Check
To verify that you usbASP is using the correct voltage, use a Voltmeter to measure the voltage between the VCC and GND leads connecting to the flat wire cable. It should read at 3.3v.

Some usbASP devices are marked: “R5 5V/3V3 SEL” There is a resister making a connection for 5V. To change to 3.3V, use a pair of diagonal pliers and break the connection. After making the change, again measure the voltage between the VCC and GND leads connecting to the flat wire cable and verify it now reads 3.3V.
Upgrading the firmware
Having the usbAsp AVR Programmer connected to your computer (on Windows you’ll also need the driver) and the avrdude software installed, you are ready to go. Connect the programmer to the uRADMonitor PCB as shown in the pictures below. Make sure to match the header pins correctly, using the diagram attached.
Note: the Red Stripe in your cable may not be installed in the same manner as the sample picture.


When the connection is successful, a red LED on the uRADMonitor PCB, located underneath the raised board will light. Open a terminal and type the following command:
avrdude -p atmega328p -c usbasp -U flash:w:uradmonitor.hex:i
If everything is properly configured, you will see a text-mode animation showing a progress indicator. Wait for the download to finish, it shouldn’t take more than a few seconds.

The download shows a confirmation message when done.

When complete, your unit will go online with the new firmware.
Why upgrade?
As said, constant progress is being made. All units produced starting with Jan 2015 have firmware version 108 or newer. This firmware allows users to connect to the uRADMonitor units directly, by opening their LAN IPs in the web browsers. Besides sending data to the central server, these new uRADMonitor units also open the HTTP port 80 to the LAN, and using a small embedded webserver, they are able to serve measurements and data directly. This features is useful for those interested in home automation, offering a convenient, direct way of accessing the data, but it also guarantees functionality beyond the server dependancy (should anything wrong happen to the server or the communication to it, the uRADMonitor units are still accessible via LAN).
This new functionality is provided simply by changing the firmware (no hardware modifications are required). So those of you interested in the upgrade, contact us directly, or over the forum.
codemore code
~~~~