
The Power supply
Each unit comes with Power supply (input 220V/110V EU/US for socket, output 5V and at least 0.5A), power cable (black) and Ethernet cable (1m long).
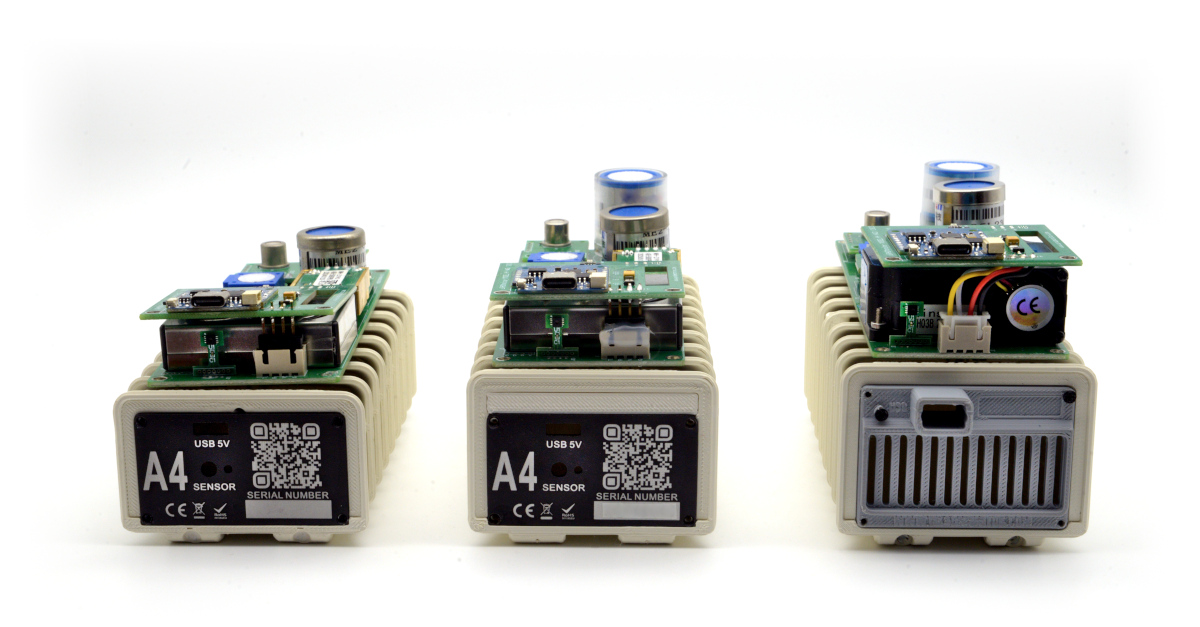
The uRADMonitor device must be powered with a low power 5V supply. An adapter is provided with each uRadMonitor unit. If a longer cable is required, you can use an extension cable like in the first picture below, or a pair of adapters like in the second photo, with the additional wire in between, but make sure to respect the correct polarity, as using the wrong voltage or the wrong polarity can damage your uRADMonitor


The Network interface
To connect the uRADMonitor to the network and get the radiation readings online, you will also need a normal Ethernet cable. Purchase the length you need, or make your own, so you will be able to install uRADMonitor at a convenient location.
Connect the other end of the Ethernet cable to your home internet router with a permanent Internet connection. The router must have DHCP capabilities, so it would allocate an IP automatically to the uRADMonitor station, allowing it to work. Make sure DHCP is enabled on your router and working properly. After connecting the uRadMonitor to both power and network, check the DHCP Table on your router, to see an IP was allocated to the detector. You can try pinging it, and the uRADMonitor must reply.
Failing this step, will make the measurements unable to reach the server , and you will not see your readings online.
It is also possible to connect the uRADMonitor unit directly to a WiFi/Wireless network, see more details here. Just use a WLAN2Ethernet “converter” which is nothing but a little wireless router configured in AP Client mode.
Power over Ethernet
It is convenient to use it, because you will only need a single cable for both the data and the power supply. uRADMonitor can be connected by POE, using a Passive POE adapter, like in the picture below:

Alternatively, you can also improvise your own POE configuration, like presented in this article.
Mounting
uRADMonitor must be mounted outside, but not directly exposed to sun, to avoid overheating in warmer areas. A covered spot with some shadow in the free air is ideal (under the balcony, on a wall with protection from the Sun, etc).
The production model A units have a rugged aluminium enclosure that is rainproof when mounted with the cables down. The enclosure has wall mounting brackets, you only need a few screws and installation is done in just a few minutes:

An external additional protection enclosure can be used, but it is not required.
Best practices
Ideally uRADMonitor should be mounted 1 (one) meter above the gound level. Where possible, try to respect this requirement: In case of nuclear accidents, fallout covering the soil would be properly measured. Even if mounted at higher level, the device will sense the abnormal radiation levels succeeding a major nuclear incident.
Example images
See other installations and get inspired:


For any questions, please use the forum.
To get a cheap and effective water protection, find a phone/ipad water tight pouch/cover, they have 3 zip line closings, are folded around and closes with push buttons.
Like this, its a few Euro in almost any store: http://photo.promotional-gifts-inc.com/upimg9%5Cwaterproof-mobile-phone-pouch_171009.jpg
That’s an effective solution, thanks for sharing!
One interesting improvement will be to add poe support, so only one cable is necessary
Thanks, I have plans of adding POE.
i see that there is no uRadMonitor unit in japan!! It should be nice to send some there to compare the radiation that they have now!
Maybe add a solar panel so you can charge a small battery that can be used until sunrise, then recharge again?
Question – would a 5V DC solar panel affect the Geiger counter in any way, shape or form?
Yes, a solar panel can be used, just connect an external one to a model A unit. The units are using very little power, aprox. 130mA at 5V, so a solar panel can easily be used. The geiger tube will not be affected in any way.
hello, just wondering what the dimensions of the solderable unit is. i want to order an electrical enclosure. thanks in advance
urs
Hello Urs,
Please see the dimensions here: http://www.pocketmagic.net/wp-content/uploads/2015/10/pcb_size.png
Also, the grid is composed of 1mm / 1mm squares.
What’s the temperature range this guy can operate in? Being outdoors in WI during the winter, it does reach -10 to -20F at times. Is the board conformally coated to handle condensation?
Hello Alex. Model A units were tested to operate unaffected in the -20C +65C degrees interval (-4F to 149F). Probably they can go even lower as the internal electronics generate some heat that should form a protective atmosphere inside, but it is not guaranteed. I say go ahead and test it, and we’ll see how it goes.
The ultimate weather protection would be given by some potting compound, such as soft urethane (Jell-O strength) that can allow for rework.