Due to popular demand, but also because wireless is better than installing wires, especially for some remote locations (and that’s where we usually need uRADMonitor installed), here’s a quick guide on connecting the uRADMonitor model A to the wireless network. Yes, uRADMonitor can be connected wirelessly to your home WLAN with the method presented in this guide. Thanks to Dustin for indicating this as a working solution.
Before continuing with this guide, make sure you read:
Quick details on uRADMonitor
Tips for installing the uRADMonitor unit
Things you’ll need:
– good signal from your wireless network (Main router)
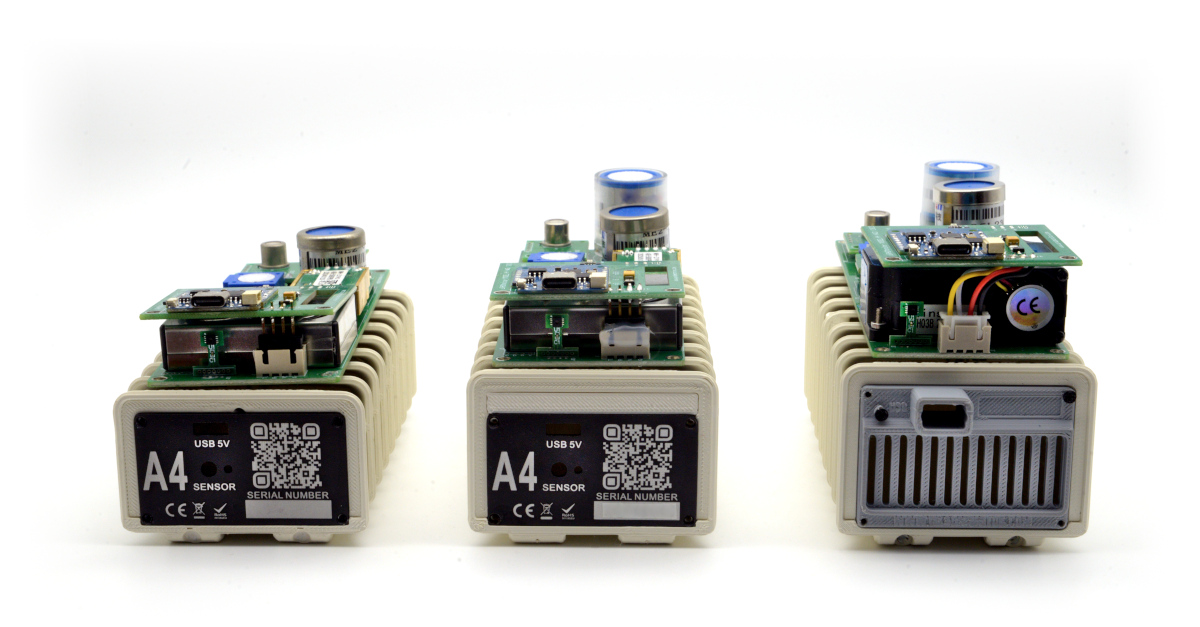
– uRADMonitor environmental radiation monitor
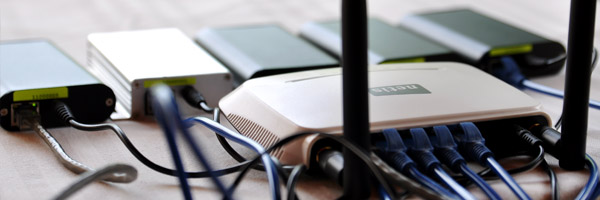
– a separate wireless router (Remote router) with Ethernet ports that has the “Repeater” option. Client/Infrastructure option will also work. This is a second router that you will use only with uRADMonitor, do not confound it with your “Main” wireless router.
The next part is easy, and not much to put together for a guide. You need to open your router’s Config page: checkout the router’s manual for that, it implies hooking your computer to the router directly, via the cable or wirelessly, then opening your browser and typing in the router’s IP address. There you’ll see all the configuration options for your router. You need to set it as a Repeater for your “Main” wireless network (your home internet router or wireless DSL Modem, that is connected to your ISP). That’s it. Now you can take both the “Remote” router and the uRADMonitor outside, and have them connected to power. That’s the only thing you need, power. Using an Ethernet cable, connect uRADMonitor to one of the router’s Ethernet ports. Now the Radiation monitor will join your wireless network via the second Remote router, and start transmitting data.

For my setup in the picture above, I’ve used a cheap Netis router but others will work too.
Alternatively you can also use different devices, purposely made for taking a wired connection over the air, such as this one.
codemore code
~~~~