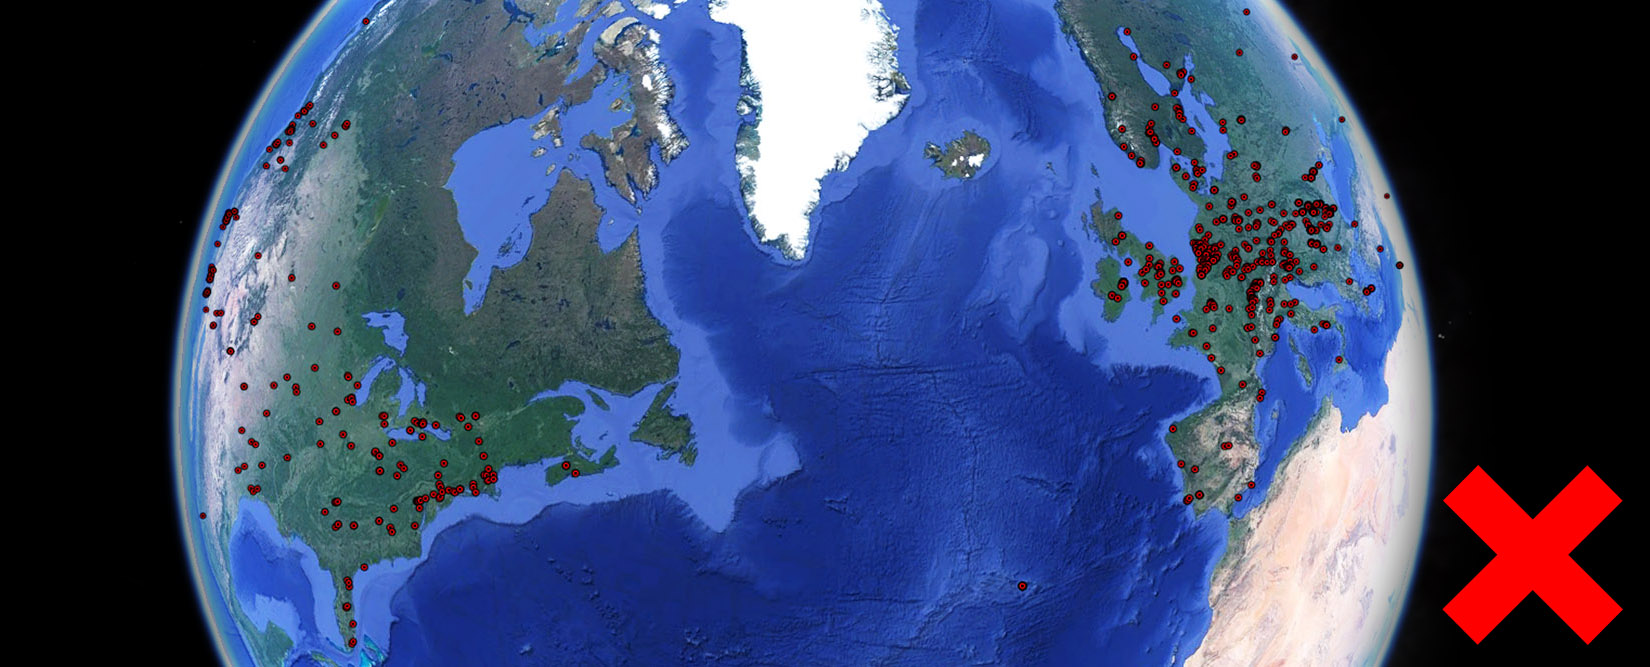
The uRADMonitor network is comprised of hundreds thousands of interconnected devices for automated and continuous environmental monitoring. Each device contributes with unique environmental data to help illustrate the pollution levels at an unprecedented scale. Each contribution is valuable and helps build the system as it is now. The collected data is available via a RESTful API interface and more details are in the specs or on the Dashboard.
But in some situations, the centralized topology is not the best answer and more flexibility is required. uRADMonitor devices were designed for multipurpose use from day one, so you can continue using them independent of the network should something go wrong. So, decentralised use is supported and here are a few cases that you can consider:
Case 1: You need to use your uRADMonitor device in your local network, without involving the uRADMonitor server and the uRADMonitor API.
Case 2: Your organisation’s security policy prohibits data export or external links, and so your uRADMonitor devices must be used in a closed loop, locally.
Case 3: The uRADMonitor server is down, or out of use.
There might be other similar cases and these scenarios are covered in a multitude of ways and this post is a tutorial on how to get your uRADMonitor device running off the grid.
Direct Data Access
Method 1: Via USB
All recent uRADMonitor devices come with a micro-USB connector that can be used for a variety of purposes, including: powering the unit (5V), configurations and debug or data access. The latter is of importance here, as we can use it to access the data locally. Simply connect the unit via USB, open a serial terminal on baudrate 9600bps and once connected type “getdata” :

However, there is a limitation here: when connected via USB, the uRADMonitor devices enter powersave mode, meaning that sensors and modem are turned off, so the “getdata” command will only return the last data set measured by the unit. After the USB link is disconnected, the unit reboots , waits a few minutes for sensor warmup, then resumes normal operation mode (starts doing measurements again). So one approach to getting the data this way is to connect via USB, read the data with “getdata”, then disconnect to let the unit do more measurements before you repeat the process.
Method 2: The embedded webserver
The Wifi or Ethernet uRADMonitor devices expose a mini webserver, on the default port 80. This means that if your unit is connected in your LAN network, you can open its IP in your browser to get the local webpage and all the parameters generated by the unit.

This means you can use this feature to access the unit’s data directly in your LAN, regardless of the uRADMonitor server’s state. To make it even more convenient, the internal webpage exposes a virtual link named “JSON” that offers formatted data. This can be fed to another automated system, consuming the data.

But, if there is no internet access, the watchdog will kick in, and reboot the unit after 3 failed send attempts (about every 10min, depending on the settings). After the reboot the unit resumes automatically. To disable the watchdog, you can connect via USB to configure the unit. Now change the sending interval, to a very big value, so the watchdog will not engage.

Default is 60 seconds / 1minute and the maximum permitted value is 65534 seconds. Issue the following command via USB: “sendint”,”65534″ . Now the watchdog interval is 327890seconds (5x Send Interval + 2x Warmup Interval) or almost 91 hours, so the unit won’t reboot in this interval regardless of being able to contact the server or now. You’ll be able to poll the data locally, practically uninterrupted.
Method 3: New End Point
This is the correct way to go, although it is also more complex. It requires the implementation of a local server, in your LAN or somewhere else. Then you configure your uRADMonitor to send the data there. You can also keep the watchdog as it is, since the unit will count the successful transmissions to your local server, and the watchdog will only kick in when needed making sure the unit works by itself. This option is only available for the “model A3“, the “model INDUSTRIAL” and the “model CITY” units.

So first thing to do is to change the endpoint where the data is sent, to a script in your local LAN or anywhere else. The uRADMonitor unit will send the data there, even if there is no internet access, it just needs to be able to “talk” to your script to deliver the payload. Here’s an example:
“server”,”192.168.2.4″ , this sets the server to the IP of my laptop, connected in the same LAN with the uRADMonitor unit . The uRADMonitor unit in this case is 192.168.2.102 .
“script”,”/decode/”, this will be a simple PHP script placed in the root of my webserver’s path on my laptop. Two important things to note: 1) the connection is HTTPS / SSL encrypted so make sure the server is properly configured -and- 2) The call needs to be RESTApi formatted, so on the server you’ll also need a .htaccess file to redirect the calls to /192.168.2.4/decode to an actual file, eg. /192.168.2.4/decode.php . The .htaccess file can be:
RewriteEngine On
RewriteRule ^/decode/ decode.php
And the PHP script is as simple as:
<?php
	header("HTTP/1.1 200 OK");
	header("Content-Type: application/json");
	function debug($msg) {
	    $fpx = fopen("debug.txt", "a");
	    fwrite($fpx, time()."> ".$msg."\n");
	    fclose($fpx);
	}
	$request = $_SERVER['REQUEST_URI']; // form: /decode/006544934D0E82B3E82AFEEB47F93C1FEA5C2C233CF05649C34C68C03450AA735035A6FE2C31622D519F04D5
	$args = explode('/', rtrim($request, '/'));

	$verb = $args[1];
	$data = $args[2];


	debug($data);

	echo json_encode(Array('success' =>  'ok'));
?>
Now the uRADMonitor device will send data to the script, and the payload will be saved in the debug.txt file on your computer. You would need to further develop this script to decode these payloads, then save the data to a database.
Method 4: Only for Devices with LoRaWAN connectivity
The uRADMonitor A3 and the uRADMonitor INDUSTRIAL support LoRaWAN connectivity. Here there is no internal webserver, and all the data is sent via LoRaWAN to the network server and it becomes visible in the payload history. We have two options here: 1) grab the payloads directly from the Network Server and decode them locally -or- 2) redirect them to the uRADMonitor Data Server that will handle all decoding and then return the data via the API . For the latter, the uRADMonitor Data server plays the role of a man in the middle to do the decoding part.
If direct access to the payloads on the Network Server is preferred, we’re in a similar situation to the one described at Method-3 above. We have direct access to the Payloads, and need to decode them then store the data in a database.
Decoding the payloads
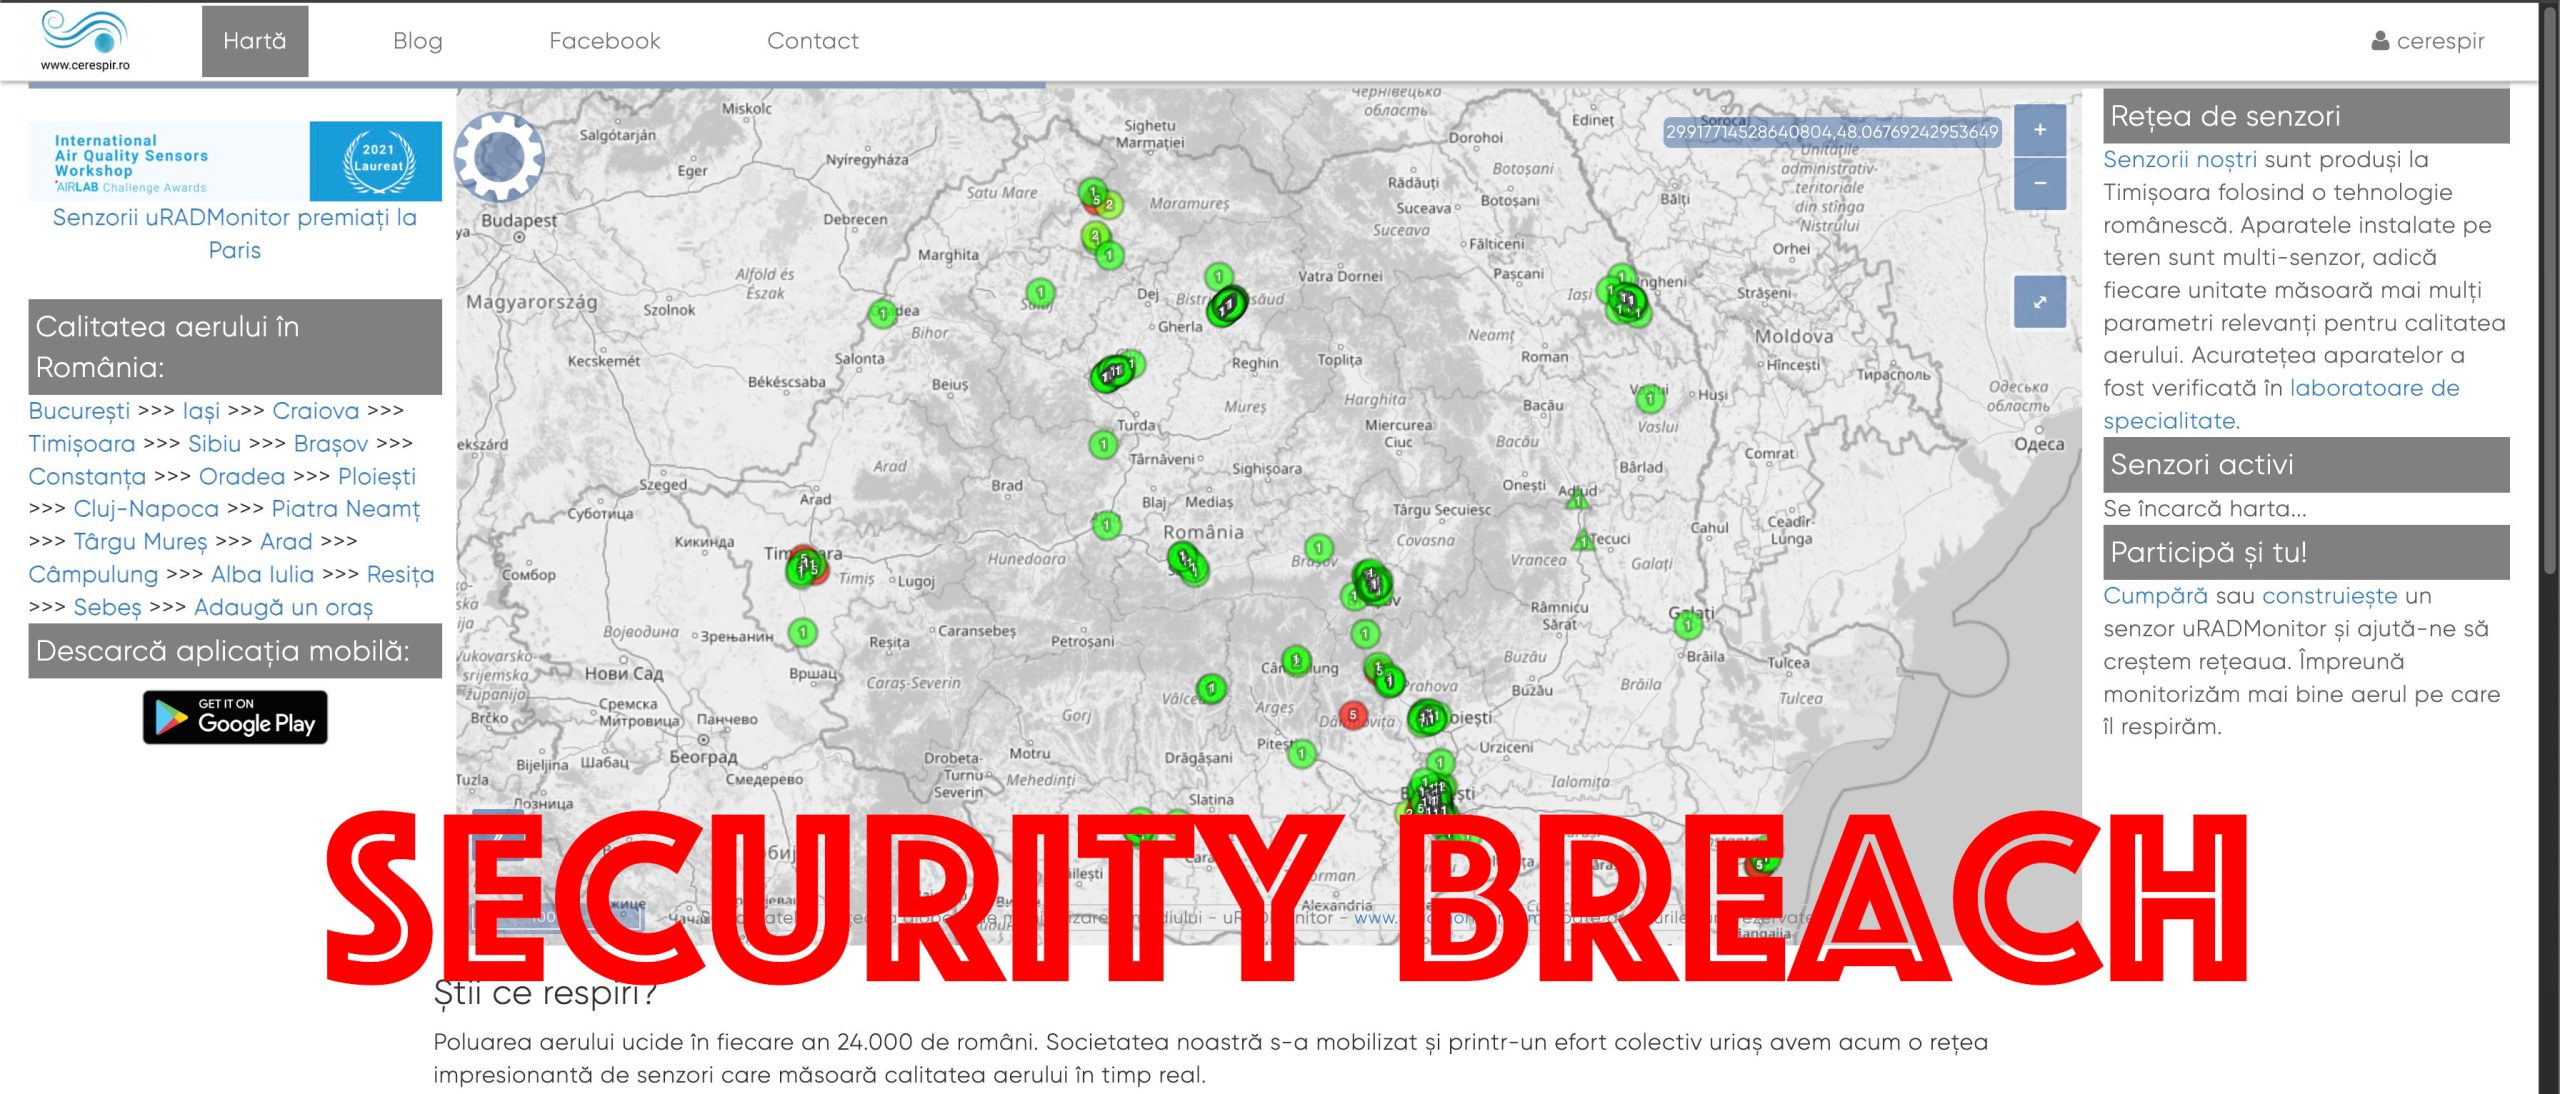
The uRADMonitor devices encrypt all data and the server receives and decodes it before making it available via the API or the various dashboards. This is done to guarantee the integrity of the data collected by this network and prevent false injections or denial of service attacks. The encryption mechanism contains a timestamp and protects the system from malformed data and from repeated injection attacks.
In case of Direct Data Access, specifically the one that offers direct access to the payload like presented in Method 3 and Method 4, you will have access to the payloads when the device exports them periodically at the preconfigured interval (sendint USB command) (either at the new endpoint – method 3, or on the LoRaWAN network server – method 4). To extract the data, you will need to decode the payload, interpreting the bytes into the corresponding data structure that packs the values in the payload string.
But the payload is encrypted by default, and only the uRADMonitor Data server has the decoding scheme. To access the data this way, you first need to disable encryption, so the uRADMonitor device will send the data unencrypted. This can be done via another USB command:

The command is “encrypt”,”0″ and you can then type “getsettings” to make sure the encryption is disabled (will show 0).
Attention: if the encryption is disabled , the uRADMonitor data server will no longer accept data from this device! You’re now off-grid, so make sure the watchdog is controlled as explained before, because otherwise your unit will reboot periodically, not being able to get confirmations from the server. LoRaWAN units need no change on the watchdog side as their communication with the Network Server remains unaffected and the un-encrypted payload will now be available there.
Data payload structure
To further decode the payload and extract the meaningful parameters, the structure of the payloads needs to be known. This is different from one device to another, as the sensor configuration is different and so we are measuring and transmitting different things, but also from one hardware revision to another, since there are certain changes being implemented (eg. A3 HW105 measured ionizing radiation while in A3 HW108 this was replaced with an Ozone sensor). Contact us for the Payload Structure documents.

codemore code
~~~~