It’s been a long road getting here, a road paved with constant innovation. And it’s a longer road ahead. The first uRADMonitor was a crude prototype, with jumping wires on a test board, it got its own PCB soon. The following models were a new design, more compact using the smaller SBM-20 and SI-29BG tubes, with several improvements. There were many details to change and to improve, and experimenting with compact high voltage inverters, Geiger tubes and discriminating/counting circuits for the last two years, surely brought a lot of progress for the benefit of this ongoing project.


Following the last 5 monitors sent to various corners of the world, a new batch has been prepared. And while waiting to finalise the discussions with several Chinese factories, this batch has been manually developed. Here are a few pictures and explanations, showing the tedious process of building a uRADMonitor unit. It all starts with a shiny piece of PCB carefully cleaned and polished to remove any grease and dust:

We then print the PCB layout designed using a computer software, and etch the PCB using a corrosive agent. If we are lucky we get clean nice traces:

To be able to mount the components, a few carefully aligned holes must be drilled. We use a tiny drill.

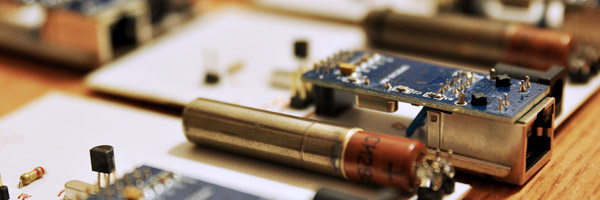
The Ethernet module is mounted as an addon to our PCB, so we need to make some space for it.

Next, we’re ready to start soldering the components. But they are so small, barely visible to the naked eye. Tweezers prove handy. The process is slow and requires a steady hand and attention:


After a few hours, the board is ready. The Geiger tube is added last because it is fragile.


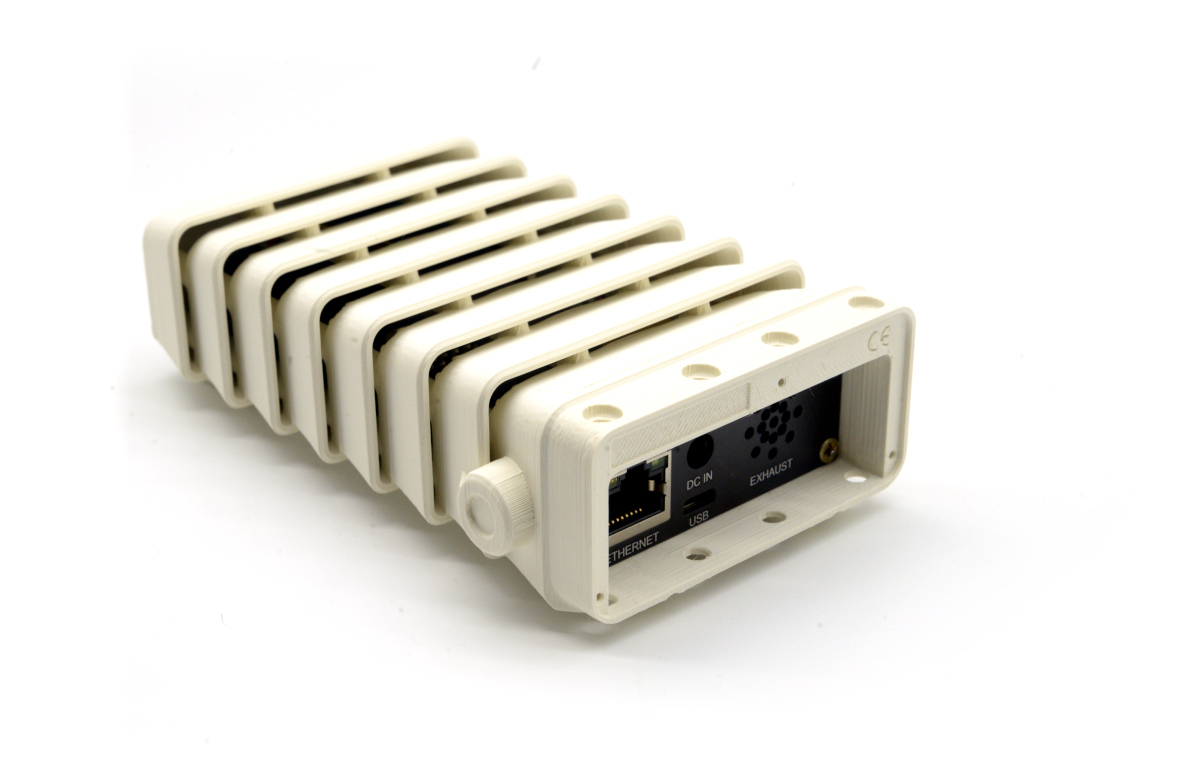
And we’re still far from being done. The aluminium enclosure requires working with power tools, cutting, drilling and smoothing the edges.
Then the software must be written into the microcontroller, and the calibration tests can be performed. This takes close to another full day of tests and tweaking.
But this is all for today. The next batch of devices is almost done, for their approaching departure to distant locations all over the Globe.


codemore code
~~~~