Hi,
This is my do-it-myself version of KIT 1.
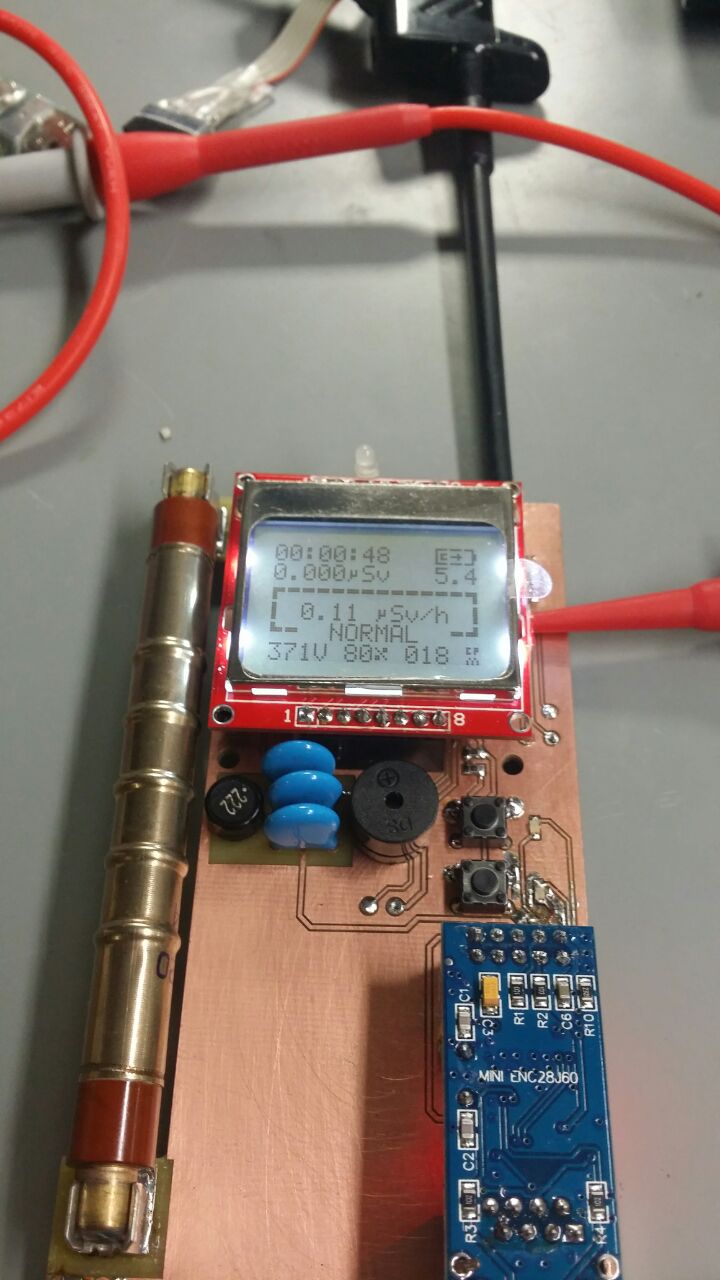
I build this with a friend of mine. Idea was a portable Device with a high capacity lithium-ion Battery, which is build in the top of the counter.
-I used a Panasonic NCR18650B, with 3400mAh @ 3.7V for very long durability.
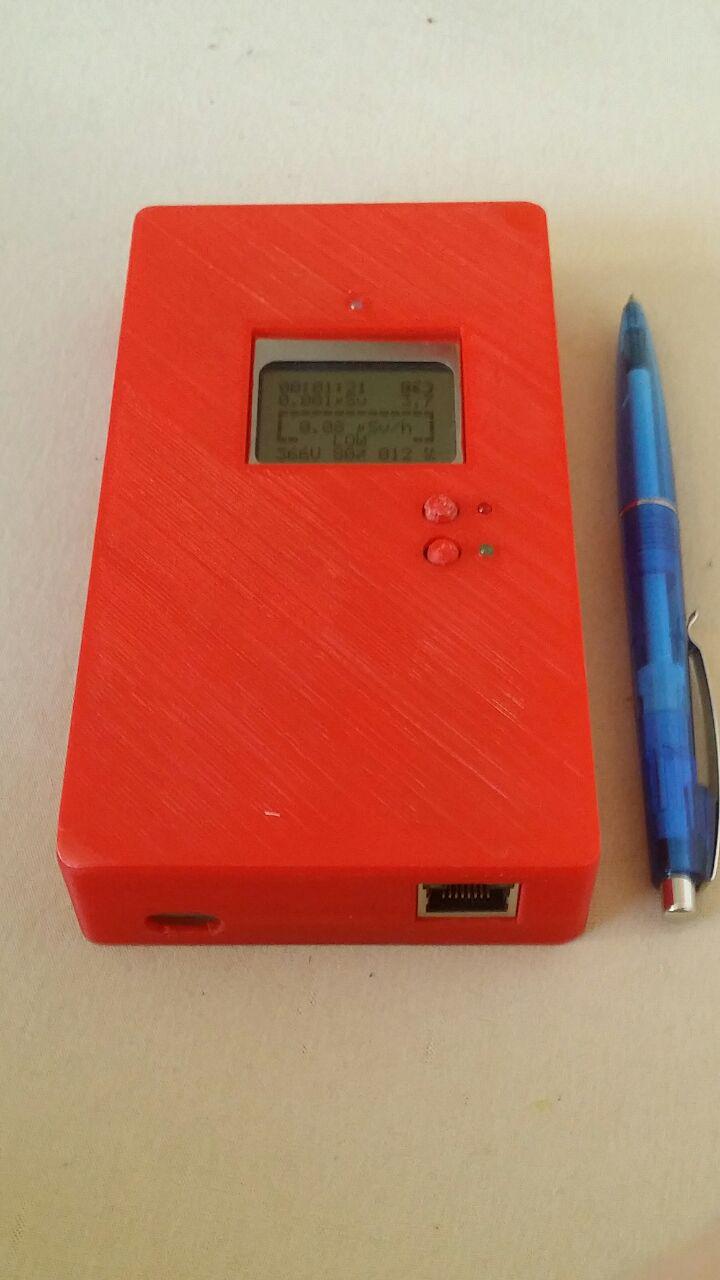
-To charge the KIT 1, we build in a micro USB jack with a 500mA Li charger IC. (So you can charge it up with any cellphone charger )
-This charger IC (TSOP8) and a few more parts in my version are in SMD. (This was a first step in make it smaller and more for poket use)
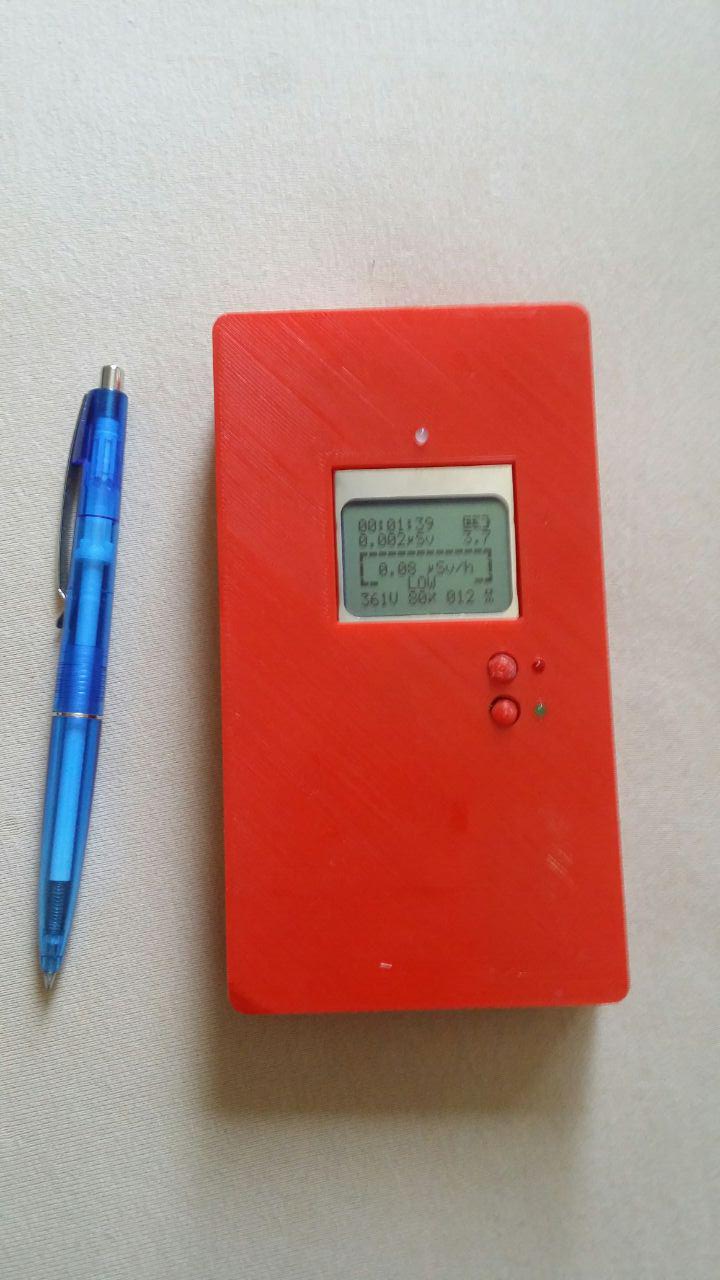
-I added a second Button for a better usability in menu and for future options. (and also for the gameboy look, which i like)
-I also added 2 more LED’s further to the bright blue event LED in the top of the KIT1. The red one is indicating the charging progress, the green indicates when the battery is full. So the Geigercounter (AVR and display) don’t have to be powered on.
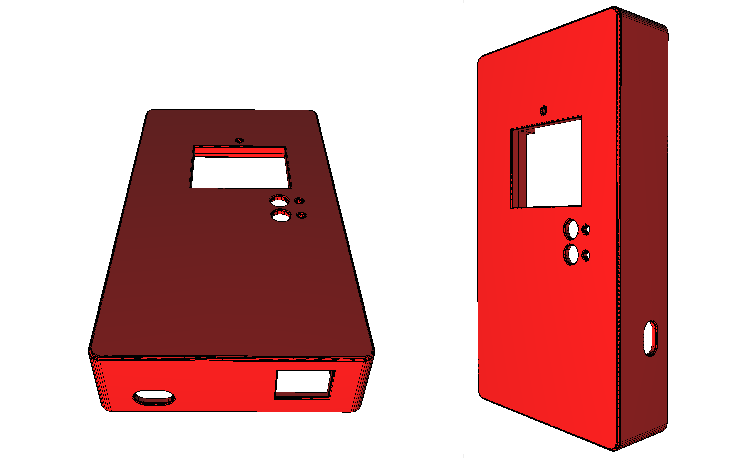
The case is designed with Solidworks, a CAD tool and printet on a Ultimaker2. I know, the shapeliness of the geiger could be a little bit improved, but I’m not a professional and also not a desinger from Apple 😉
Future ideas i have about my KIT1 -> useing a ESP8266 WiFi module for logging the Data and transmisson via Wifi.
I hope you like my Version of the Geigercounter, feel free to ask me about it.
Greetings Fridolin