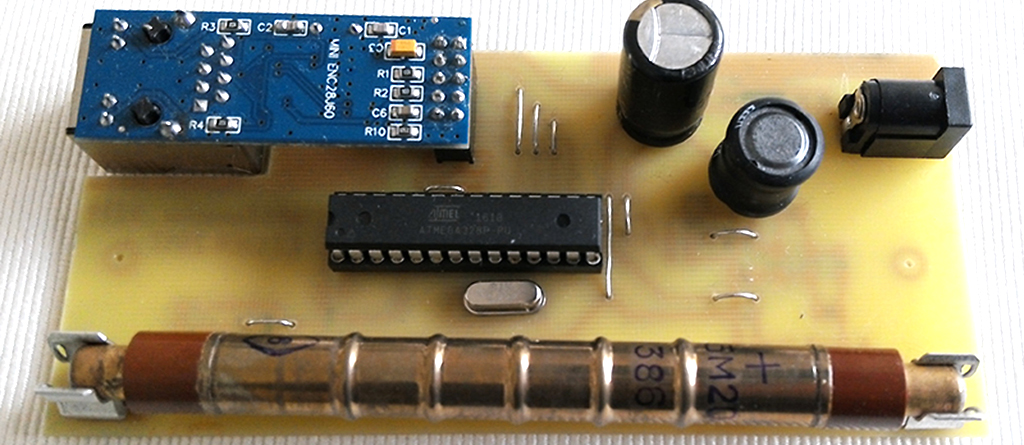
Technically this is still a KIT1, and runs KIT1 firmware, but it becomes very similar to a model A unit, as it does everything a model A does. LZ1JER built one for his new weather station based on a Raspberry Pi, which is an impressive construction already:

As you can see, this KIT1 variant is designed as a component to a bigger system, in this case the weather station, but can be used as a standalone detector too. You just need to connect it to power and to the Internet via an Ethernet cable, and the data becomes available on the uRADMonitor portal, automatically. LZ1JER released the details to the public domain, and he was kind enough to provide all relevant construction details on the uRADMonitor Forum, so this device can be replicated by those of you that are interested.

For the PCB, use the attached PDFs, the first two are for guidance, while the third is what you need to make your own boards:
uRADmonitor_LZ_V3_all_layers_miror_view
uRADmonitor_LZ_V3_all_layers_top_view
uRADmonitor_LZ_V3_bottom_layer_for_print
Toner transfer works nice for these, and here is an example:

The combination of SMD and through hole components makes this easy to solder. Very little holes need to be drilled. The BOM list is attached below:
T6, T3 = MMBT2907A PNP 60/60V 600mA 0.225W 45/100nS

T2 = SST2222A NPN 75/40V 600mA 0.2W hfe 75 300MHz 25/60ns

T1 = MMBTA42 SMD NPN 300V 500mA 0.225/0.3W

vOLTAGE REGULATOR = BA033CC0FP 3.3V±2% 1A, LDO 0.5V, Vinmax=25V

C6, C10, C11 = SIZE 1210 10nF 1000V X7R	10nF 1000V X7R +-10%

D2, D3, D4 = US1M 1000V 1A UFM1.7V/1A IFM30A IR10uA 75ns, Ultra Fast

All others C, R are size 1206 SMD
And the final result:

Kudos to LZ1JER for this excellent design! For any questions you can reach him on the uRADMonitor Forum.

codemore code
~~~~