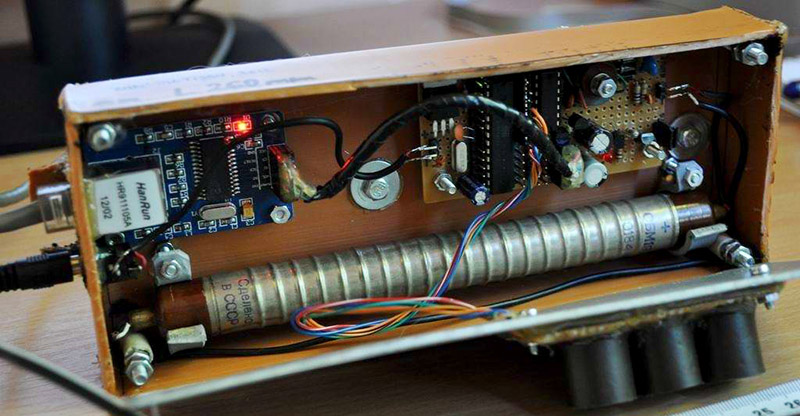
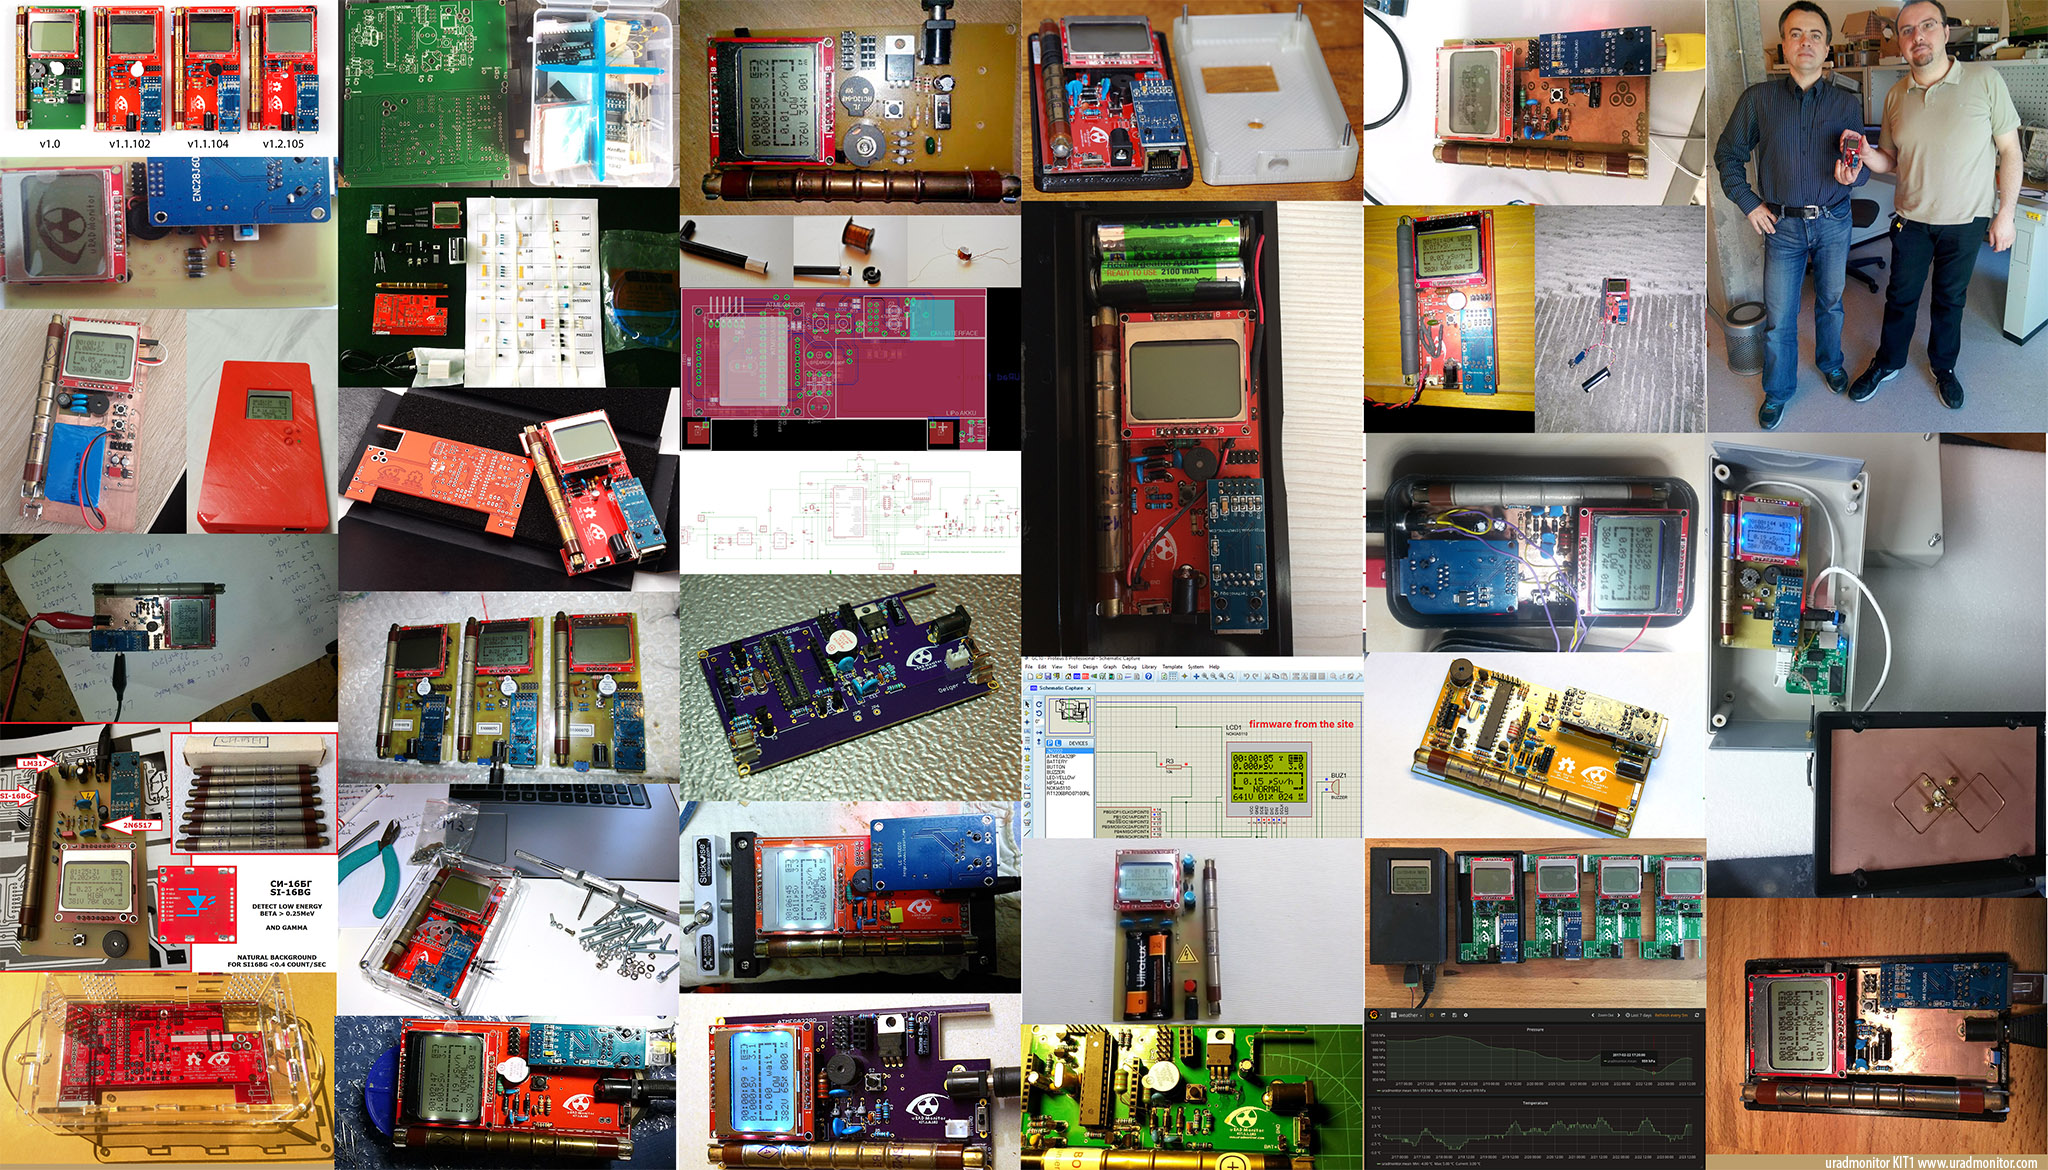
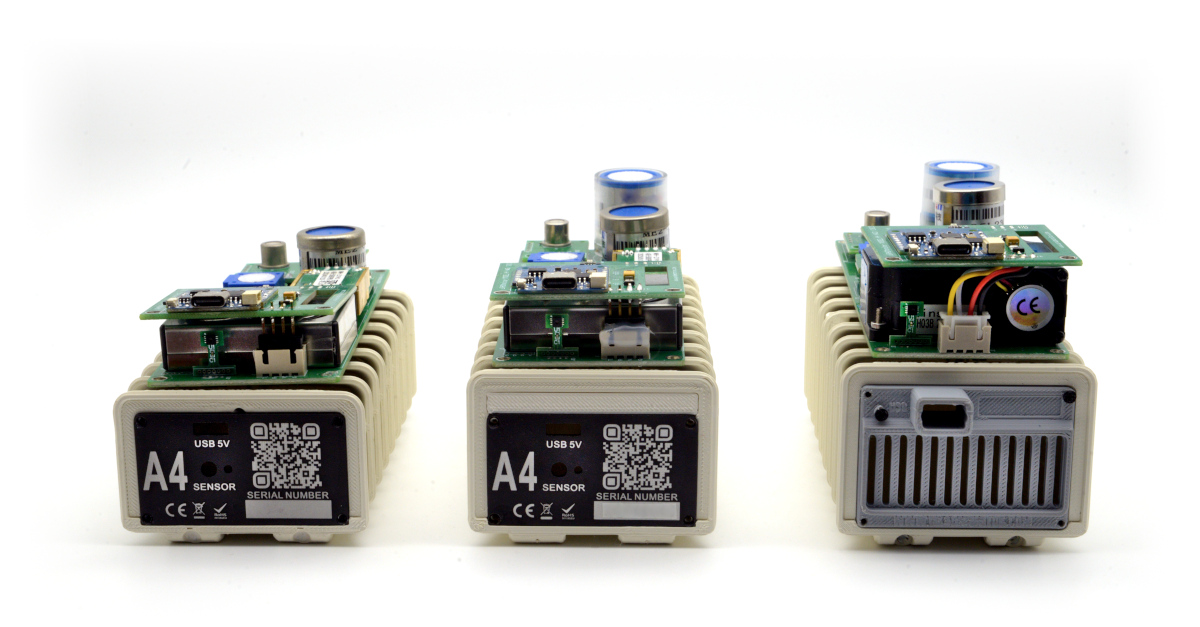
uRADMonitor is one of the biggest global sensor networks for environmental monitoring, providing real-time data on air quality, radiation, and other parameters. While most of the units in the network are made by us and typically come with a predefined unique Device ID, assigned at manufacture time, the network allows open hardware and custom sensors to join in, one notorious example being the Open Source uRADMonitor KIT1.
But what if you build your own sensor?
You can report data to uRADMonitor from your DIY / Custom sensor with just a few easy steps. You’ll be able to use our extended Big Data infrastructure to store your readings, access them via the API and configure notifications. Also to see the data in charts or on the world map, helping us to make it bigger. You’ll only need a unique Device ID for your new construction, to identify your sensor across the network. That’s where DIDAP (acronym for “Dynamic ID Allocation Protocol“) comes in.
This tutorial shows you how to use DIDAP to register your open-source sensor to the uRADMonitor network and start reporting meaningful environmental data. And one more thing: it doesn’t have to be an automated sensor, you can use this method to upload data manually as well, if you just want to do readings from a non-connected instrument and plot them on the uRADMonitor MAP. Yes, it’s possible.
Step 1: Authentication First
Every sensor that uploads data must authenticate using a User ID and User Key. You can get these by creating an account on the uRADMonitor Dashboard.
In your firmware, use these headers when sending data:
sprintf_P(buffer, PSTR("X-User-id:%s\r\nX-User-hash:%s\r\nX-Device-id:%08lX\r\n"), USER_ID, USER_KEY, data.getDeviceID());
On the first ever connection, the Device ID is unknown ( so data.getDeviceID() will return 0x0 or 0xFFFFFF). The server will recognize this as a DIDAP registration request of a new sensor and will allocate a valid ID and return it to your sensor as a response to the request.
Step 2: The Server Assigns a unique ID
When your sensor first connects with a valid User ID and User Key but with invalid Device ID (0x0 of 0xFFFFFFFF), the server will respond with a new Device ID using the setid command packed as JSON as follows:
Your device must store this ID in non-volatile memory (EEPROM) when it receives it. On all future data uploads, this ID must be used for the X-Device-id header.
Security note: Device IDs are permanently bound to your user account. If another account tries to use the same ID, the server will reject it and assign a different one to avoid conflicts. If a device hasn’t uploaded any data in over 30 days, its ID is considered expired and will be recycled by the DIDAP algorithm for new allocations.
The Open Data Device ID (provided by DIDAP) format has a dedicated structure in the uRADMonitor infrastructure: IDs begin with 13 followed by 6 hex digits, e.g., 132ABC01. The server assigns the first available unused or expired ID.
Step 3: Reporting Sensor Data
Once the Device ID is allocated and stored, your sensor is ready to report environmental data. Your sensor has now all the requirements in place: the hardcoded user-id and user-key (that you take from your Dashboard account), and the unique Device ID (13xxxxxx) that you take from the EEPROM at power up.
Next, the uRADMonitor expProtocol defines a compact RESTful API for uploading sensor values. Each value is identified by a short ID, for example:
| Code | Parameter Name | Unit / Format | Required |
|---|---|---|---|
01 | Local time (epoch) | Seconds (Unix timestamp) | ✔️ Yes |
02 | Temperature | Degrees Celsius (e.g., 23.45) | ❌ No |
03 | Barometric pressure | Pascals (e.g., 101325) | ❌ No |
04 | Relative humidity | Percent (e.g., 55.2) | ❌ No |
05 | Light level (relative luminance) | ‰ (promille, 0–1000) | ❌ No |
06 | VOC (Volatile Organic Compounds) | Ohms (sensor resistance) | ❌ No |
07 | CO₂ (Carbon Dioxide) | Parts per million (ppm) | ❌ No |
08 | CH₂O (Formaldehyde) | Parts per million (ppm) | ❌ No |
09 | PM2.5 (Particulate Matter <2.5µm) | µg/m³ | ❌ No |
0A | Battery voltage | Volts | ❌ No |
0B | Radiation level | Counts per minute (CPM) | ❌ No |
0C | Geiger inverter voltage | Volts | ❌ No |
0D | Geiger inverter duty cycle | ‰ (promille, 0–1000) | ❌ No |
0E | Hardware version | Integer (e.g., 3) | ❌ No |
0F | Firmware version | Integer (e.g., 104) | ❌ No |
10 | Geiger tube type | Manufacturer-defined ID (e.g., 4) | ❌ No |
11 | Noise level | Decibels (dB) | ❌ No |
12 | PM1.0 (Particulate Matter <1.0µm) | µg/m³ | ❌ No |
13 | PM10 (Particulate Matter <10µm) | µg/m³ | ❌ No |
14 | Ozone (O₃) | Parts per billion (ppb) | ❌ No |
Important note: Field 01 (Unix timestamp) is mandatory in every data packet sent to the server. If omitted, the packet will be rejected.
Example upload string for a custom hardware equipped with sensors for radiation, temperature, pressure and relative humidity sensors.
sprintf_P(ethParams, PSTR(
  ID_TIME_SECONDS"/%lu/"ID_VERSION_HW"/%u/"ID_VERSION_SW"/%u/"
  ID_GEIGER_CPM"/%lu/"ID_INVERTERVOLTAGE_VOLTS"/%u/"
  ID_INVERTERDUTY_PM"/%u/"ID_TEMPERATURE_CELSIUS"/%.2f/"
  ID_PRESSURE_PASCALS"/%lu/"ID_HUMIDITY_RH"/%.2f/"ID_TUBE"/%u"),
  time.getTotalSec(), VER_HW, VER_SW, data.getGeigerCPM(),
  data.getInverterVoltage(), data.getInverterDuty(),
  data.getTemperature(), data.getPressure(), data.getHumidity(), GEIGER_TUBE);
And send this as an HTTP POST request:
client_http_post(PSTR(URADMONITOR_SCRIPT), ethParams,
                 PSTR(URADMONITOR_SERVER), buffer, NULL,
                 &callback_browser, data.getIPRemote(), data.getMACGateway());
Constants used:
If successful , the server will answer:
{ “success”: “ok” }
You can also check out the working code for the open source uRADMonitor KIT1 here.
Manually Uploading Sensor Data
While most uRADMonitor sensors connect to the internet and send data automatically, some DIY or offline devices may lack internet capabilities. In such cases, manual data upload is still possible using the same DIDAP and EXPprotocols. This is useful for prototypes, field testing, or simple data loggers. Here’s how you can manually inject data using two curl commands:
Step 1: Obtain a Device ID (First-Time Initialization)
To use DIDAP and get a valid Device ID, send a request without a device ID. The server will authenticate your credentials and return a unique ID assigned to your account.
Replace YOUR_USER_ID and YOUR_USER_KEY with your credentials:
curl -X POST https://data.uradmonitor.com/api/v1/upload/exp/ \
  -H "X-User-id:YOUR_USER_ID" \
  -H "X-User-hash:YOUR_USER_KEY" \
  -H "X-Device-id:13000000"
If authentication succeeds, you’ll receive a response like:
Take note of the setid — this is your unique Device ID. Save it for future uploads!
Step 2: Send Sensor Data (Time & Temperature)
Now that you have a valid Device ID (let’s say 131234AB), you can start uploading data. The only required parameter is the timestamp (local time in seconds). You can optionally add other parameters like temperature, humidity, or air quality data.
Here’s an example curl command to send local time and temperature:
curl -X POST https://data.uradmonitor.com/api/v1/upload/exp/ \
  -H "X-User-id:YOUR_USER_ID" \
  -H "X-User-hash:YOUR_USER_KEY" \
  -H "X-Device-id:131234AB" \
  -d "01/1719228914/02/23.5"
Breakdown of the data string:
01/1719228914: local timestamp in seconds since Unix epoch . Please note the server expects and increasing value here.02/23.5: temperature in °C (as perID_TEMPERATURE_CELSIUSfrom theexpProtocol.hdefinitions).
Offline Devices or Manual Uploads
This manual curl method is perfect when:
- Your device logs data locally (e.g., to an SD card).
- You later extract the data and upload it via computer.
- You’re testing or debugging new sensor builds.
- You want full control over what gets reported.
Just remember:
- Always include a valid timestamp (
01/). - Use your assigned Device ID from the first step.
- Keep your
User IDandUser Keysecret. Change them in your user account if needed, but make sure you recompile your sensor firmware to match the same key.
Ready to Build?
Using the DIDAP protocol and the RESTful expProtocol API, you can build your own sensor device—whether it’s using Ethernet, WiFi, or GSM – and contribute to a global, open environmental monitoring effort. Open hardware, open data, smarter planet.
If you’d like help building your own uRADMonitor – compatible device or need a development kit, check out the official uRADMonitor kits.
codemore code
~~~~